In the long run, the success of your garden depends on making healthy garden soil. The more you can do to keep your soil healthy, the more productive your garden will be and the higher the quality of your crops.
In the last problem, I discussed the worth of soil care techniques that mimic natural soil communities. These include securing soil structure, feeding the soil with nutrients from local and natural sources, and increasing the variety and varieties of the microorganisms and other organisms that reside in the soil.
In this article, I’ll concentrate on specific ways to attain these objectives. There are many ways to do this, but they all focus on two basic concepts: For more fertile soil, you require to increase raw material and mineral availability, and whenever possible, you ought to prevent tilling the soil and leave its structure undisturbed.
For the finest soil, sources of organic matter should be as varied as possible.
1. Add manures for nitrogen. All livestock manures can be important additions to soil– their nutrients are easily available to soil organisms and plants. Manures make a higher contribution to soil aggregation than composts, which have currently mainly broken down.
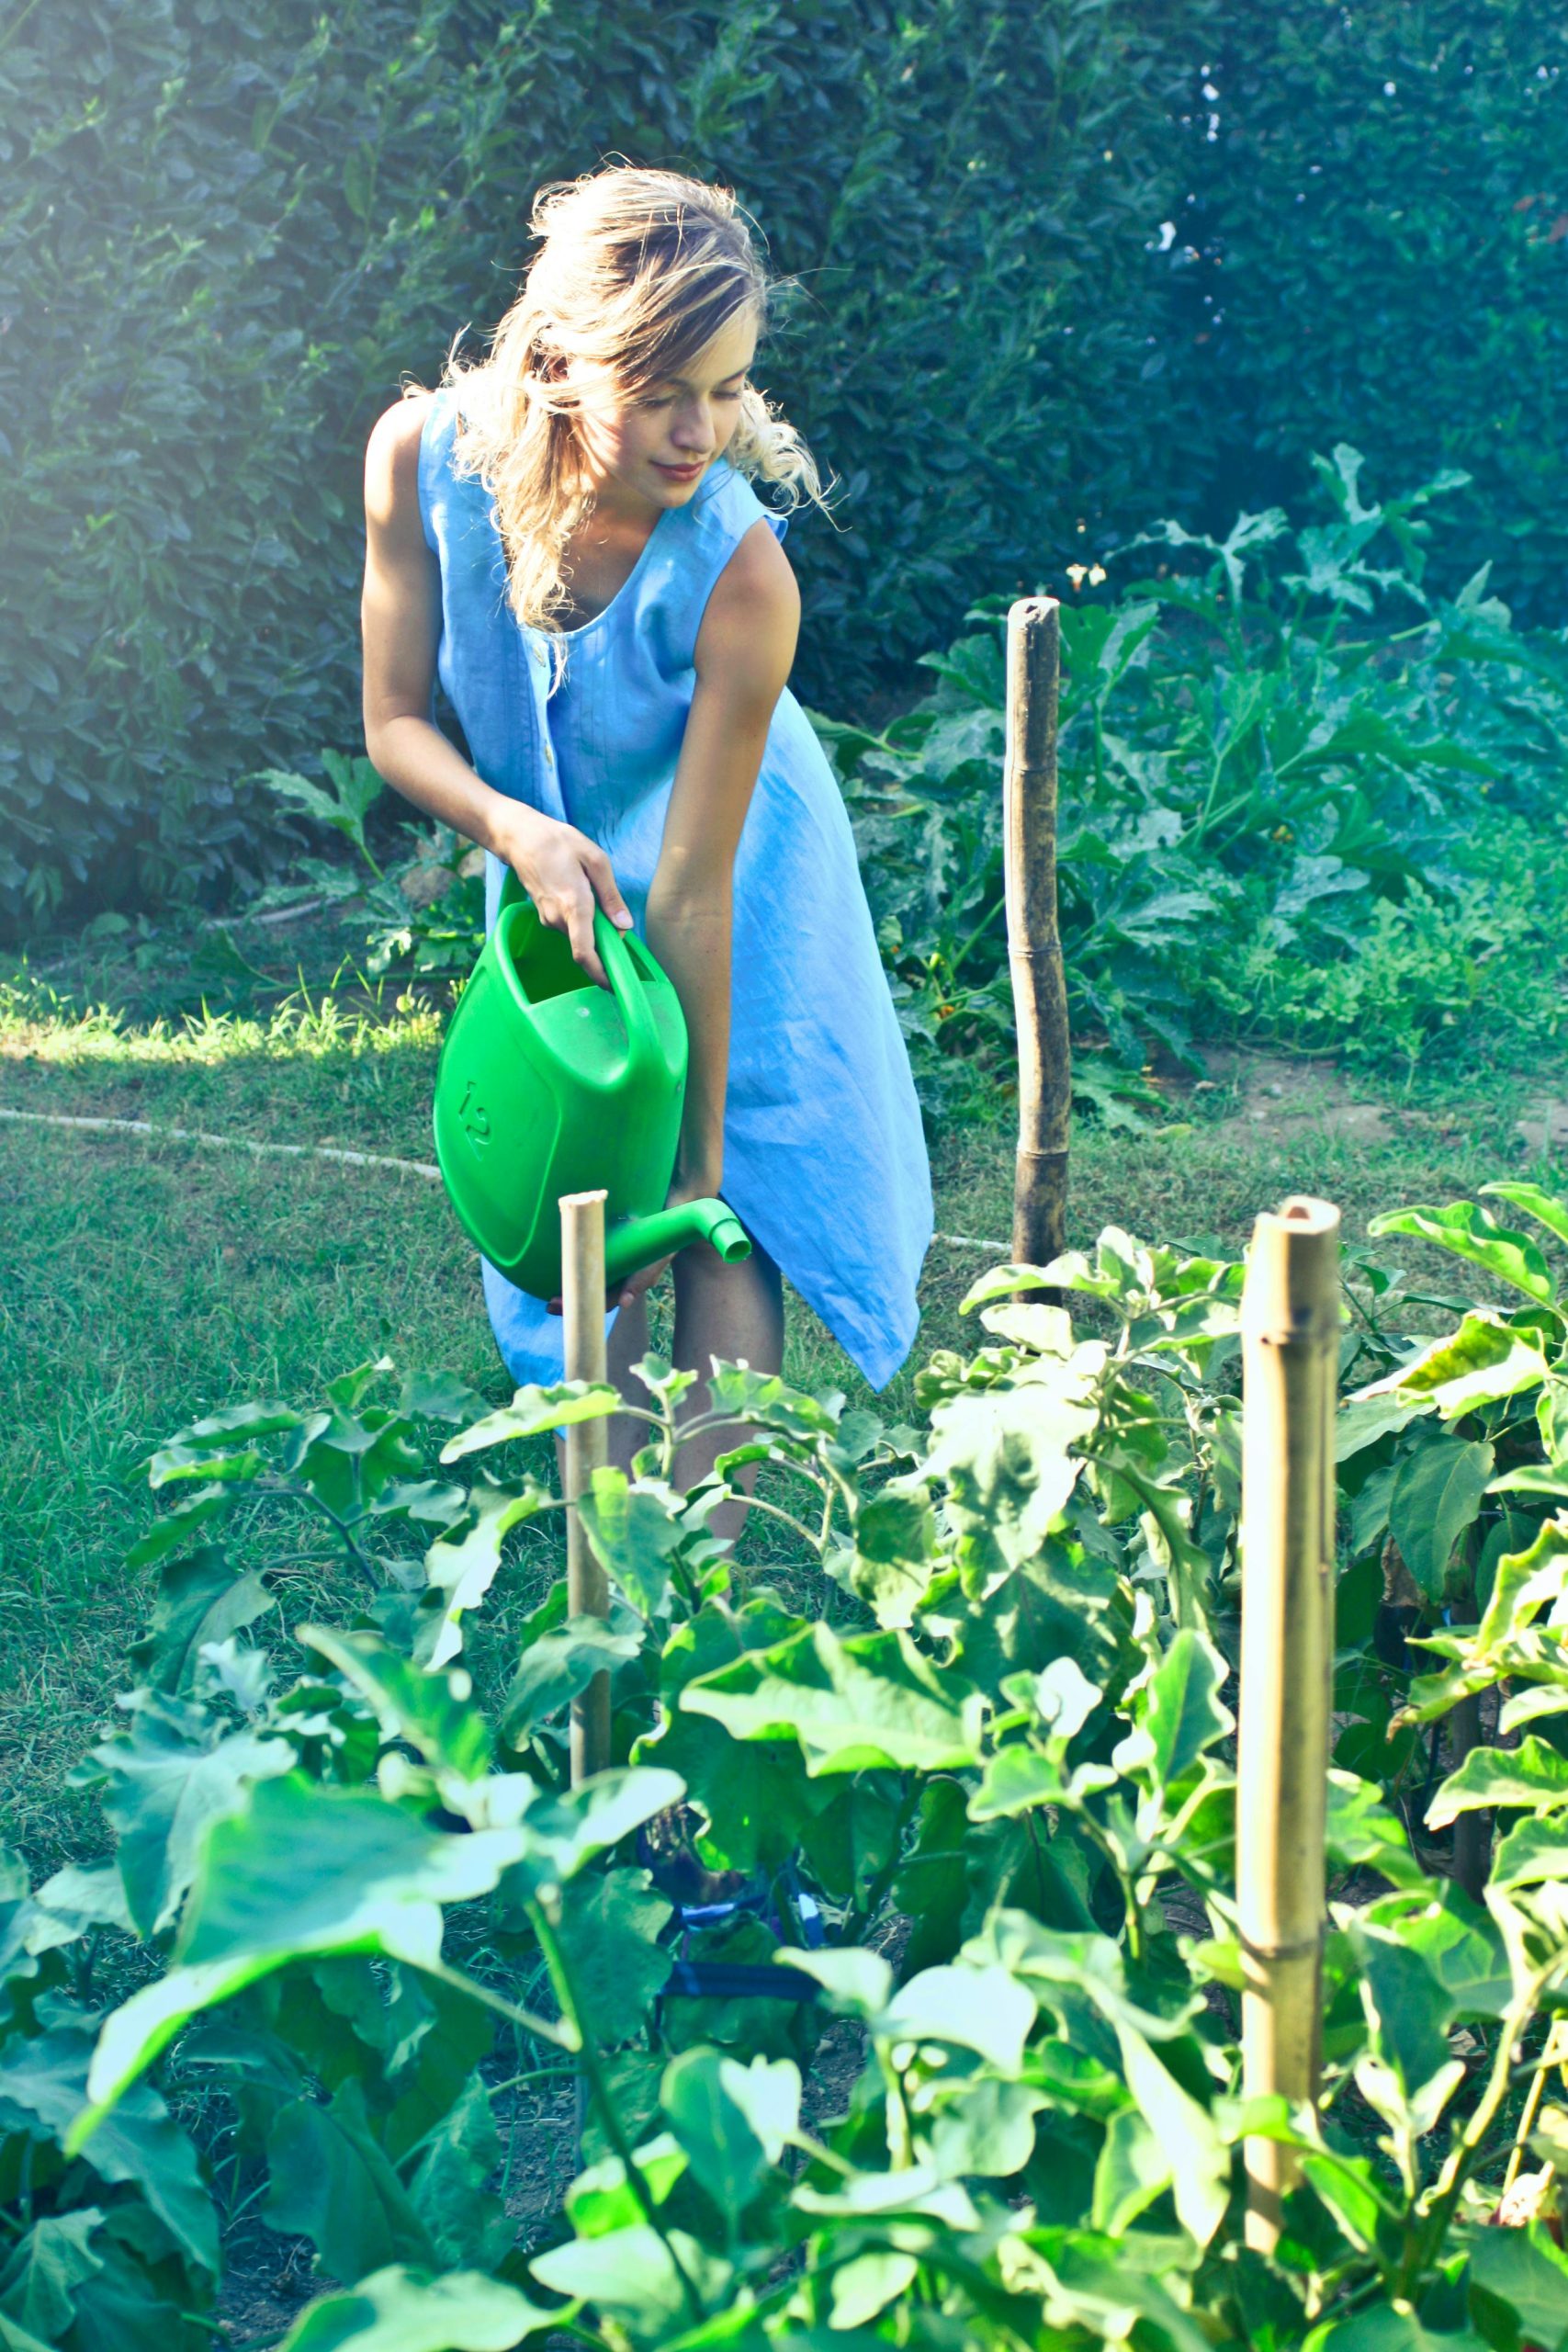
You must apply manure with care. Pathogens are less most likely to be found in manures from homesteads and little farms than those from large confinement livestock operations, you must enable three months between application and harvest of root crops or leafy vegetables such as lettuce and spinach to safeguard versus contamination. (High crops such as corn and trellised tomatoes should not be susceptible to contamination.).
However, since some nutrients from manures are so easily offered, they are more most likely to leach out of the soil (where they’re required) into groundwater and streams (where they’re pollutants). If manures are excessive used, they can supply excess amounts of some nutrients, specifically phosphorus. Since of this, it may be best to restrict fresh manures to heavy feeding, fast-growing crops like corn, and process extra manure by composting.
When thinking about manure, it’s worth considering our own. Flushing humanure away interrupts marine communities, and represents a net loss of prospective fertility from farming soils. On the other hand, human manure requires careful management to prevent spreading disease. I advise Joe Jenkins’.The Humanure Handbook., the bible on this topic.
2. Try composting. Composting is a means of recycling nearly any natural wastes. It minimizes the bulk of organic products, supports their more soluble and unpredictable nutrients, and speeds up the development of soil humus.
Regular applications of modest amounts of garden compost– one-quarter inch per season– will supply slow-release nutrients, which will drastically enhance your soil’s water retention and assistance reduce illness. Timeless composting is relatively basic (for more about how to do it, see Start a Compost Stack, listed below), but it can be labor extensive if you attempt to do it on a large scale. The older I get, the more interested I remain in a simpler option. Luckily, I have actually found two.
One is sheet composting. In classic composting, you develop tall stacks in bins, rotating layers of fresh, high-nitrogen greens, such as grass clippings, with high-carbon, hard to break down browns, such as dry leaves. Rather, you can keep these 2 compost materials separate, and apply them in two layers directly to the garden bed.
The damp, unstable, high-nitrogen greens go down first, in direct contact with the soil and the microbial populations all set to feed on them, while the drier, coarser, high-carbon browns are used as a cover to keep the very first layer from drying out or losing its more unstable elements to the environment.
The second alternative is vermicomposting: using earthworms to convert nutrient-dense products, such as manures, food wastes and green crop residues, into kinds functional by plants.
Earthworm castings are a major part of my fertility program. I began vermicomposting with a 3-by-4 foot worm bin. Then last year, I converted the center of my greenhouse to a 4-by-40 foot series of bins, 16 inches deep. My worms procedure horse manure by the pickup load from a next-door neighbor. Not just do the worm castings feed plant roots, they bring a big load of beneficial microbes that increase the soil organism neighborhood.
3. Tap chicken power to mix natural materials into the soil. In the process, they shred it and incorporate it into the top couple inches of soil, the zone of many intense biological activity. Their droppings are scratched in as well, and they provide a big increase to the soil microbes.
4. Mine soil nutrients with deep rooted plants. As I described in the previous article, when you first begin gardening, it may be necessary to use rock powders, and other slow-release sources of minerals, to correct mineral deficiencies in the soil. In the long run, nevertheless, you can provide minerals without acquiring inputs. The organic materials we contribute to our soil supply the majority of the minerals healthy crops require. In addition, we plant fertility spots to grow a great deal of our own mineral supplements.
That is, their roots grow deep, and mine mineral reserves from the much deeper layers of subsoil, where it has actually weathered out of the parent rock. The roots of comfrey, for circumstances, can grow 8 to 10 feet into the subsoil. They make excellent additions to a compost load or can be used as mulches.
If you have some pasture, consider it as a fertility patch.par excellence. When growth is quick and rich in the spring, you should have the ability to take one or two cuttings, maybe much more, for use in composting or as mulches. Consider using parts of your yard rather if you do not have a pasture. I overseed my yards each fall with the very same sort of grass/clover mix I use on the pasture. In the spring, I permit some areas to grow about 8 or 10 inches prior to sufficing with the scythe and using it for fertility applications somewhere else.
A final idea about fertility spots: Numerous garden enthusiasts are a bit paranoid about weeds, however some weeds are deep rooted, and can be used like comfrey as vibrant accumulators to bring minerals up from the deep subsoil. An example is yellow dock (.Rumex crispus.). Why not enable some yellow dock to grow here and there, in corners and edges where it is not in the way? When the plants begin to make seed heads, cut them off simply above the crown to prevent huge varieties of seeds from blowing loose in the garden, then use the plants in mulches or composts.
5. Plant cover crops. Growing cover crops is maybe the most important method we can adopt to feed our soil, develop up its fertility and improve its structure with each passing season. Newly eliminated cover crops supply easily offered nutrients for our soil microbe pals and for this reason for food crop plants. Plus, the channels opened by the rotting roots of cover crops allow oxygen and water to permeate the soil.
Legumes (clovers, alfalfa, peas and beans) are particularly important cover crops, due to the fact that they fix nitrogen from the atmosphere into types offered to crop plants. Mixes of various cover crops are frequently beneficial. For example, in blends of clovers and turfs, the yards include a big quantity of biomass and enhance soil structure because of the size and complexity of their root systems, and the legumes add nitrogen to assist break down the reasonably carbon-rich lawn roots quickly.
Attempt to work cover crops into your cropping strategies with the same consideration that you bring to food crops. The easy way to do so is to preserve 2 separate garden areas: Plant one to food crops and one to cover crops, then alternate the 2 crops in the list below year. But the majority of garden enthusiasts can not commit that much area to such a strategy, so reliable cover cropping.must be.suited a merged garden strategy, a concept that in practice can get fiendishly intricate. Garden enthusiasts who like jigsaw puzzles will love the challenges.
There are cover crops that work best for each of the four seasons, and for almost any cropping method.
Fine Alternatives to Tillage
In last issue’s short article, . Build Better Garden Soil I went over ways extreme tillage is damaging to soil life and adds to greenhouse gases. Proper soil care reduces the need for tillage. Supporting soil life by continuously presenting natural matter helps keep a loose and open soil structure. Secure that improved structure by keeping the soil covered at all times. Repeat after me: No bare soil!.
6. Cover the soil with mulch. An obvious way to keep the soil covered is to utilize natural mulches. Some people recommend versus utilizing high-carbon materials such as straw or leaves, since soil microorganisms rob offered nitrogen from the soil in order to break down the excess quantities of carbon.
If high-carbon products are laid down.on top of soil.as mulches, there won’t be any issue. The mulch retains soil wetness and protects versus temperature level extremes. Microbes, earthworms and other types of soil life can nibble at the mulch, and gradually include their residues into the topsoil. Really, high-carbon mulches are preferable for weed control to products that decay easily, since they persist longer prior to being included into the soil food web. (Every gardener who has actually used mulches knows the story: You put down a thick layer early in the season, then unexpectedly one day notification– the garden ate my mulch!) Even so, it is normally essential to restore mulches that are in location for the entire growing season.
It is frequently advised to turn manures and garden composts into the soil, but to decrease tillage you can use the manure or garden compost on the soil surface, and keep it from drying out (thus degrading) with a thick high-carbon mulch (along the lines of sheet composting, described above).
Grass clippings ought to not be lost as a resource– shipping them off to the landfill is a real criminal offense versus sustainability. Grass-clippings mulch in courses can be slippery underfoot, and unpleasant to deal with. I prefer to let yard or pasture yards grow to 8 to 12 inches, then cut them with a scythe, rake them up after a couple days of drying, and use where required.
An underestimated source of natural matter is the wood fiber in papers and cardboard. All the reading I have actually done on the subject encourages me that contemporary newsprint in this country, and cardboard produced in the United States and Europe, do not posture ecological hazards. When developing kill mulches (mulches over a living turf sod intended to eliminate it in preparation for planting trees and shrubs), I put down a thick layer of paper or cardboard, then cover with leaves, turf cuttings and other organic materials. Wood chips likewise make great mulch for some scenarios, particularly for pathways and kill mulches, and they frequently are devoid of tree-trimming services.
7. Use long-term beds and courses. A key technique for protecting soil structure is to grow in wide permanent beds and limit foot traffic to the paths– therefore preventing compaction in the growing locations– and to plant as carefully as possible in the beds. Close planting shades the soil surface area, which benefits both soil life and plants by conserving moisture and moderating temperature extremes.
You likewise can use courses to grow your mulches, or mulch the paths and take benefit of foot traffic to assist shred or grind products such as straw or leaves. From time to time, this carefully shredded material can be moved to the beds, where it will break down a lot more easily than in its coarser kinds.
8. Attempt low-tech tillage. There are nearly constantly better options to tillage, specifically power tillage, which inverts and mixes the different layers in the soil profile, interrupts the soil food web and breaks down the crumb structure we have worked so hard to accomplish. Even in the case of cover crops, which must give way to the planting of a harvest crop, it is not necessary to turn them into the soil, as usually advised. Rather, think about these options.
You can bury the cover crop under a heavy mulch to eliminate it. If the soil is in loose, friable condition, it is simple to pull the cover plants up by the roots and lay them on the bed as mulch. Particular plants such as rye and vetch are difficult to eliminate without tillage, but cutting them instantly above the crowns after seed stalks or flowers form will kill them. Use the upper ends of the plants as a mulch to help break down the roots more quickly.
If you have chickens, you can utilize them to till in your cover crops. They trigger some disruption of soil life, but just in the top number of inches. The damage they do trigger is rapidly fixed, because the birds’ droppings improve soil life.
When it’s essential to loosen up soil at depth– as in a young garden whose soil has actually not yet mellowed sufficiently to grow great root crops– I recommend the broad fork, a hand tool that, like the scythe, makes happy, all-round usage of the body in a rhythm that ends up being a garden meditation. Unlike a power tiller, the broad fork loosens the soil without inverting the natural soil layers or breaking down the crumb structure of the soil. The broad fork is a lot easier to utilize in soil that is currently in pretty good condition– it is not the tool of option for converting a hard lawn sod over compacted soil to new garden ground.
Does that mean that in this case we are forced to revert to power-driven steel? Not on my homestead, where once again chicken power comes to the rescue. Usually, I would turn the birds onto another plot after a week or so to prevent excessive wearing of the pasture sod, however in this case excessive using is exactly what I want. I utilize electronet to park a flock of chickens on the sod I wish to transform to garden. With their constant scratching, the birds kill and till in the sod. I eliminate the birds, grow a mixed cover crop, then return the chickens for another round of tilling. Now the new ground is all set to start working as garden. Make certain to keep in mind the state of the soil prior to you start– the changes by the end of the season will astonish you.
If you do not have chickens, a no-till way to establish new ground is to lay down a sheet compost, as previously gone over, which is heavy enough to eliminate the existing sod. If you can be generous with watering through the germination stage, you can start a cover crop in the top layer of the compost, and the roots will considerably accelerate the breakdown of the mulch. Plant a 2nd cover in the fall. If you can provide the area over completely to soil structure for a full year, this method works much better. If you need to get some production out of the ground the very first season, just open up holes in the compost and plant (a technique that works better with some crops than others).
You can also attempt using potatoes to do the heavy work for you. Lay your seed potatoes directly on the sod, and cover with a thick mulch. Renew the mulch as required to keep the growing bulbs well covered. When it’s time to harvest, merely press the mulch aside and pick up your spuds. The new garden soil still has a long way to go, but it’s well on its method.
With such crops, I dig deep and completely with the spading fork– a total interruption of soil structure and inversion/mixing of its natural layers. That method, the undamaged soil life communities in surrounding beds soon help restore the soil food web in the disturbed areas.
Start a Compost Pile
To build a compost pile, start by layering natural products. Alternate more easily decomposable materials– fresh, high-nitrogen wastes, such as manures, crop residues, kitchen area wastes and weeds– with less decomposable products– drier, coarser and high-carbon wastes, such as autumn leaves, straw and corncobs. Microorganisms eat all these materials and break them down into simpler, more stable substances.
The microbes require water and oxygen, so keep the pile moist, but not sopping damp. As they break down the organic matter, the microbes produce heat. Make the pile big enough to retain heat, however not so big that oxygen can not penetrate to the center, about 4 feet on each side is a great size. To encourage aeration, blend the coarser elements throughout the stack to guarantee plenty of air space. When the stack cools, turn the stack– with the external layers going to the within and vice versa– to include more oxygen and create a brand-new heating cycle. Once to complete the process, the garden compost stack may need to be turned more than.
Life in the Soil
It’s often stated that natural material in soil includes the living, the just recently dead and the very dead. This is a practical method to comprehend the procedures that shape soil and make it fertile.
The living part of soil is comprised of plant roots, and of the numerous microbes and other living organisms that enhance soil structure by breaking down natural material.
The recently dead parts consist of departed soil organisms, green plant material and fresh manures. They break down readily, and release nutrients quickly.
The very dead part is humus, the last residue of raw material breakdown that’s essential for soil structure and illness suppression.
For fertile soil, all three types of raw material ought to exist at all times.
Pick a Cover Crop
There’s a cover crop for each gardening, season and environment method. Here are a few choices to think about.
Fast-growing grain grasses (rye, oats, wheat, barley) are a great choice in early spring.
Cold-hardy beans, such as peas, can be started in late winter season and allowed to grow 2 months or longer to precede a warm-weather, heavy-feeding crop, such as winter squash.
Warm-weather beans, such as soybeans or cowpeas, can fertilize beds that will be planted to fall crops that need abundant soil, such as broccoli or fall-planted garlic and shallots.
For a quick-growing filler in between spring and fall crops, absolutely nothing beats buckwheat, the immediate cover crop (1 month from seed to flower.).
For winter season, a mix of hairy vetch and rye (cereal rye, the sort of rye utilized to make bread, not seasonal rye or annual yard rye) is a top option.
Another great winter cover is a mix of oats and field pea or winter season pea (.Pisum arvense., a close relative of.P. sativum., the common garden pea). Both plants are cold-hardy, however reliably winterkill if the ground freezes in your location. You can leave them in location as mulch, and make spring transplants right into it.
Try undersowing to grow a food crop and a cover crop together. You can put Dutch white clover in a bed where you are planting tall crops with a small footprint such as trellised tomatoes or pole beans. The clover turns up quickly, establishing a tight cover that keeps and reduces weeds soil moisture. Since it is low-growing, it does not interfere with handling or harvesting the taller crops above it.
Article source: http://www.motherearthnews.com/organic-gardening/8-steps-to-make-better-garden-soil-zmaz07jjzsel.aspx
📅 Last updated:


