Repurpose/upcycle your old baking tins and make a herb planter for your kitchen!
[Psst! Join me on Instagram and Pinterest to keep up with my latest posts and ideas. Got a question? Join the discussion in the new HOME & DIY chat forums and don’t forget to SUBSCRIBE TO THE BLOG for more awesome DIY idea.
I have a confession to make.
I like to collect baking tins…. Large ones, small ones, round ones, square ones, pastry ones. I like them all and I’ve built up quite the collection this past year.
But here’s where it gets super weird. I don’t bake. I can’t bake. And that’s not to say I haven’t tried because I really have!
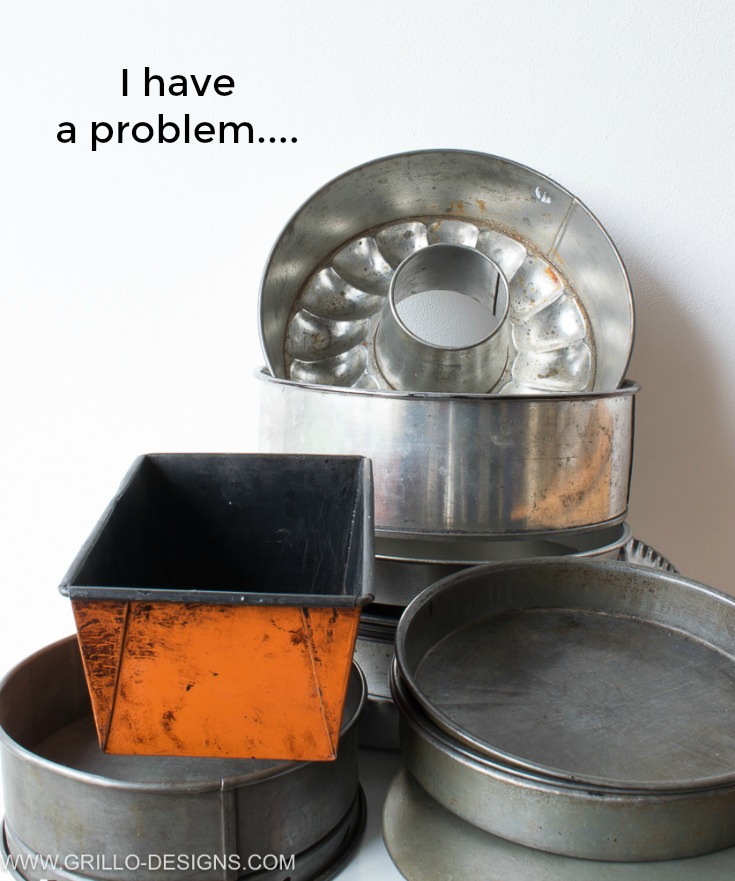
There was that time I attempted to make a peach cake for my wedding anniversary and spent the majority of the evening trying to digest what felt like a rock. Or the time when I thought adding a cup of salt to my sponge cake mix would cancel out the extra cup of sugar I had added by mistake …..
I guess its true what they say…’one does not simply try baking’. And that ‘one really can scar ones husbands for life if one doesn’t stop trying to prove otherwise’.
So at this point you’re probably thinking, if this chic isn’t using these tins to bake cakes, why on earth is she collecting them? Well, for repurposing reasons …obviously.
And because I just like baking tins – which we’ve kind of already established right?
10 MINUTE DIY CHALLENGE
Its that time again! You know, where myself and 6 other bloggers get together to make something totally awesome in just 10 mins? Last month’s theme was all about organising and this months theme is planters!
Can you guess what I did?
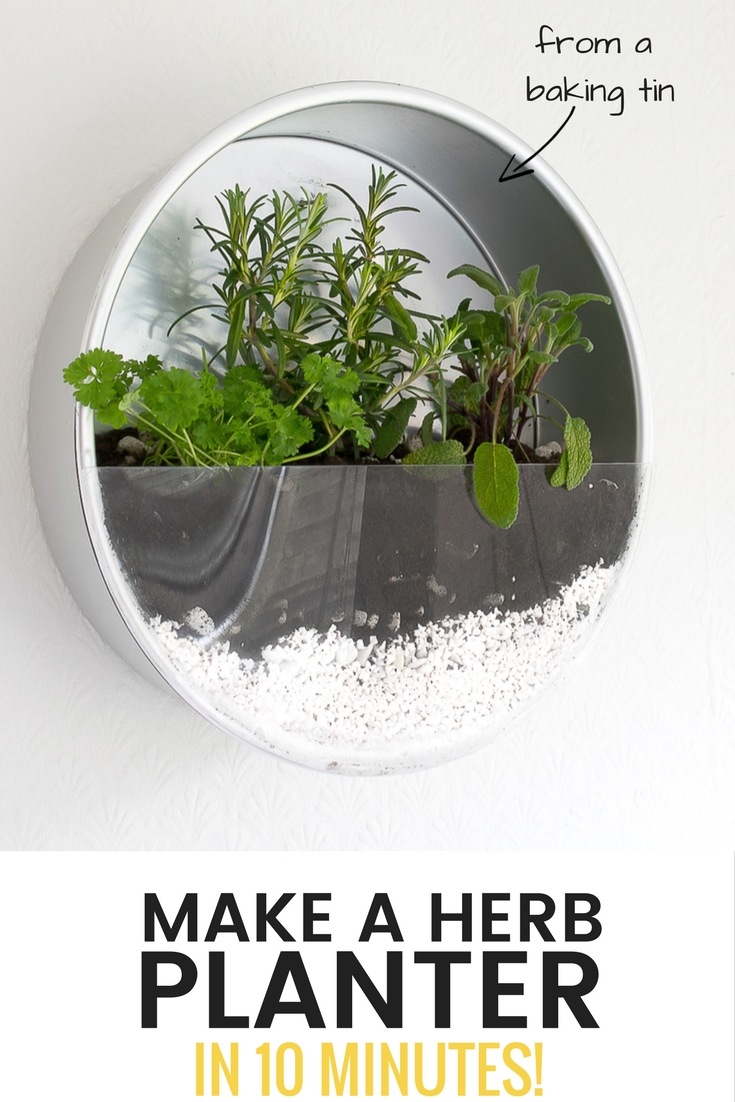
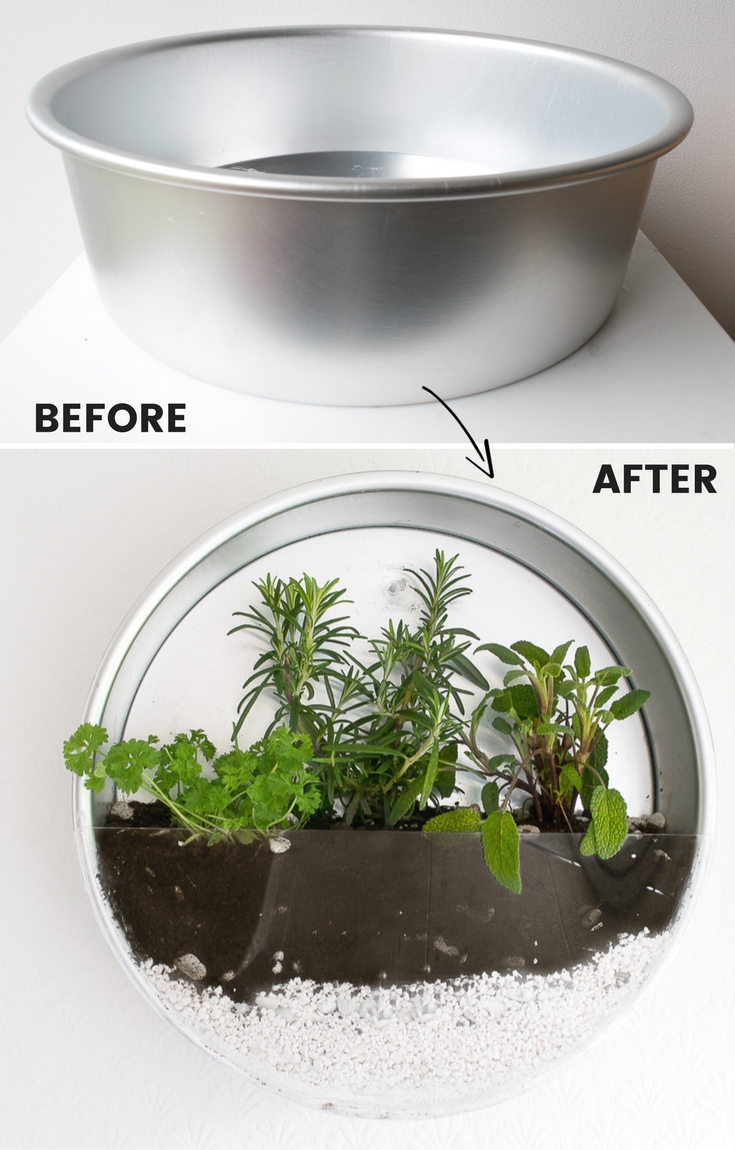
I’ll just tell you, as this is kinda out there as far as ideas go. Inspired by t his image on Pinterest , I took the largest baking tin from my collection and upcycled it into a herb planter for my kitchen. I’ll show you how!
You can see what my other blogging friends made for this quick DIY challenge by scrolling right to the bottom of this post.
MATERIAL USED TO MAKE THIS HERB PLANTER
This post contains affiliate links for your convenience – please see full disclosure here
HOW TO MAKE A BAKING TIN HERB PLANTER:
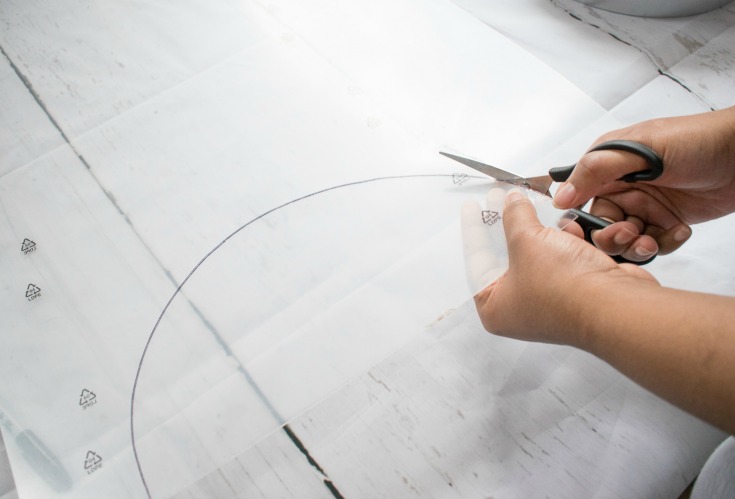
1. Place your baking tin on a hard surface and then your plastic sheet on top.
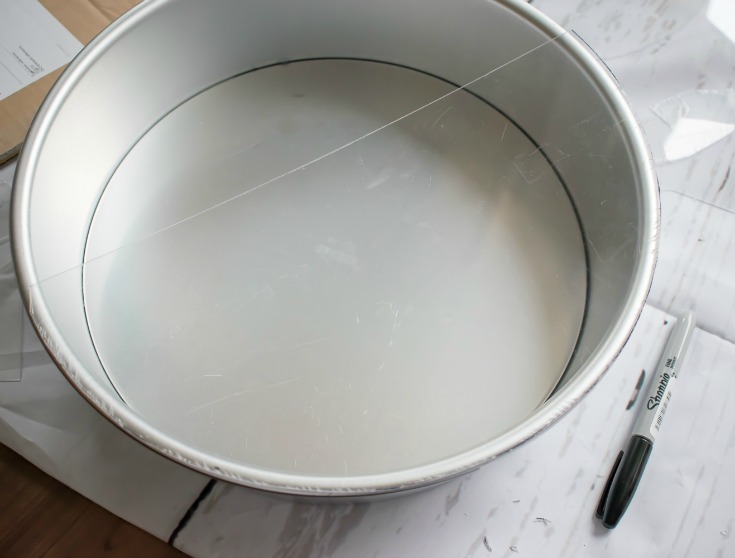
2. With your sharpie pen, draw around the baking tin (alternatively you can just flip the baking tin on to the plastic and draw an outline that way). Your final shape should resemble a semi circle.
FYI – this is what the IKEA FISKBO fame looks like.
3. Cut the shape out with very sharp scissors. Try not to rush this part, or the plastic will crack!
4. Next apply a thin line of gorilla glue around the bakingtin edges and stick your plastic semi circle over it. The glue takes about 20-30 sec seconds to dry (and a day to cure). Ensure you press the plastic down hard to get a really good seal – you don’t want water leaking out.
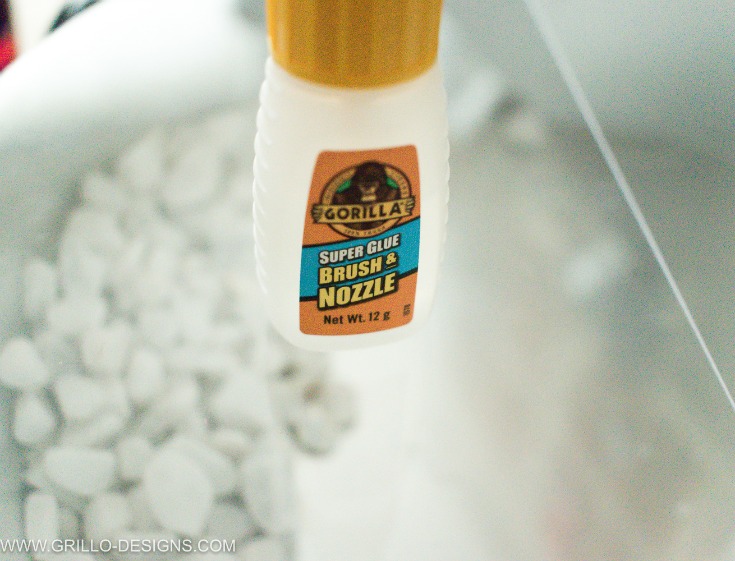
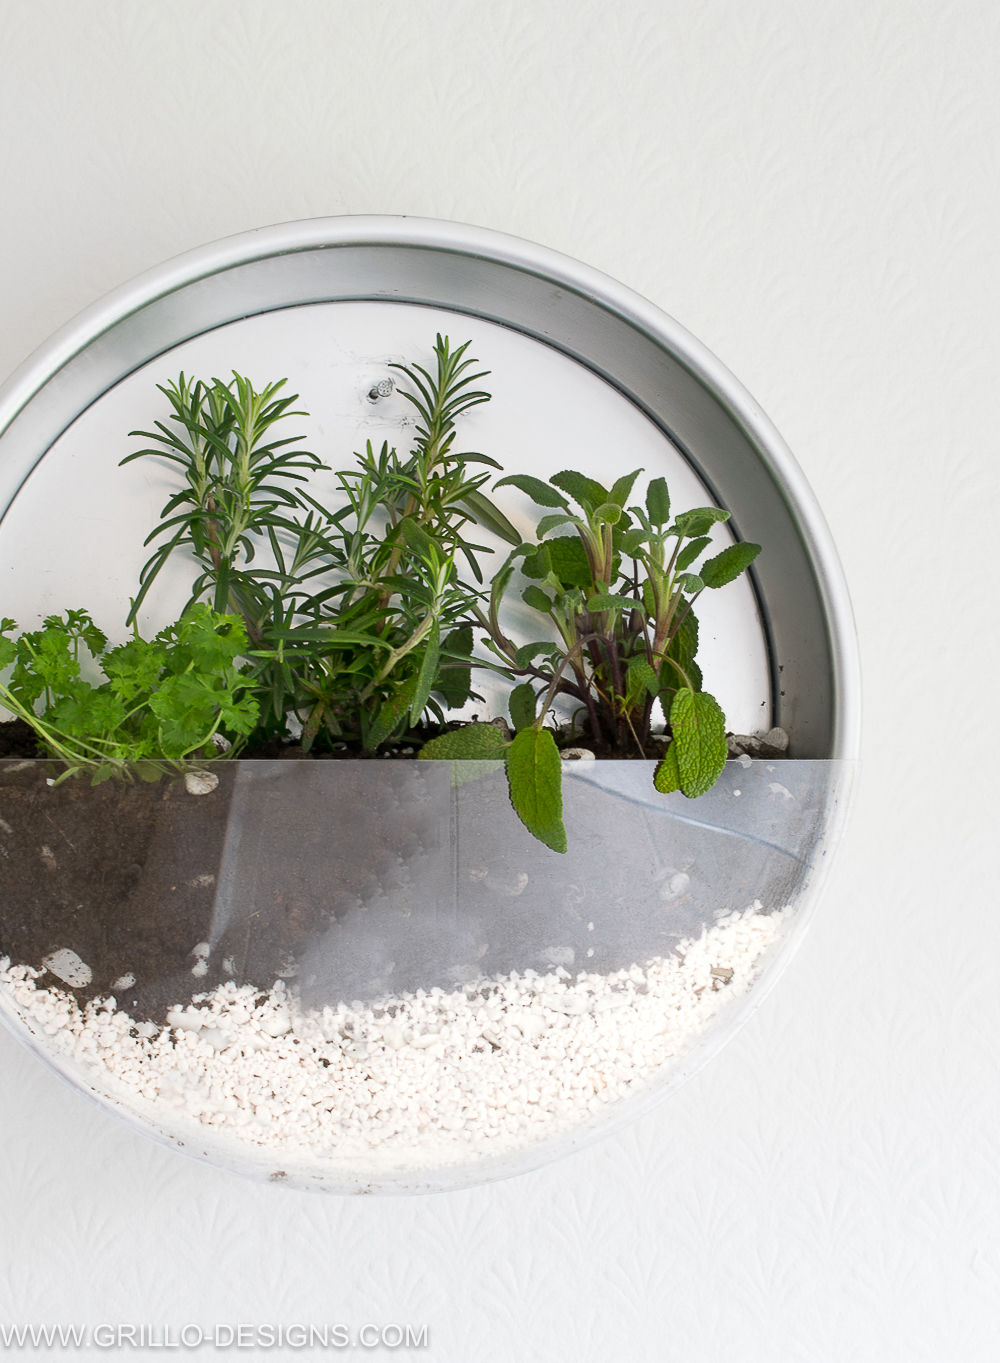
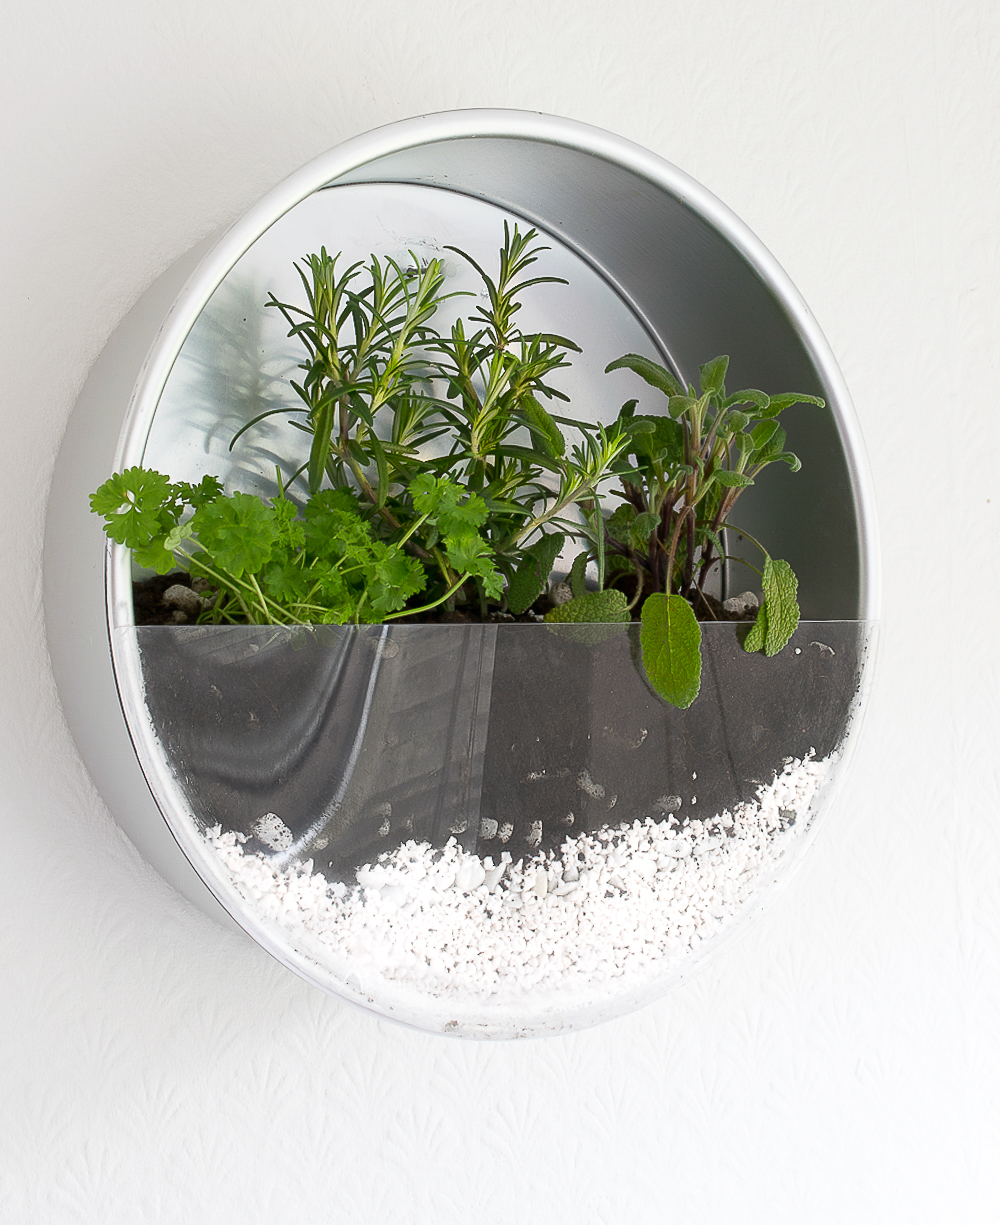
5. Add in stones and gravel to the base of your herb planter for water drainage (you can read more about indoor herb growing here if you are a beginner at this)
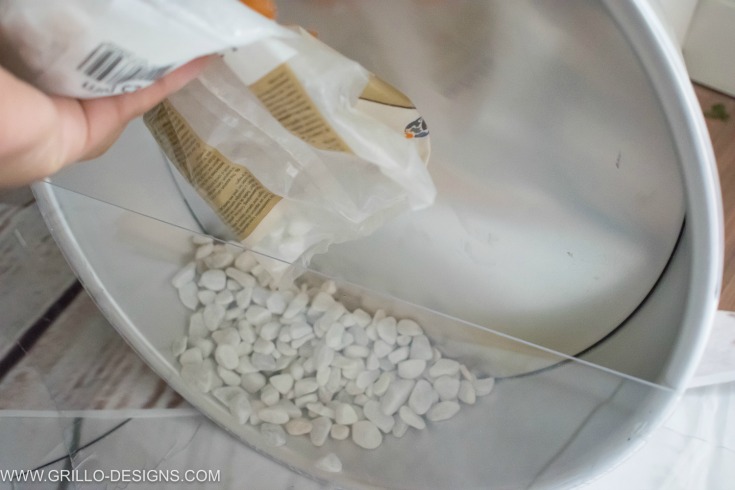
Add a layer of potting soil and then plant your herbs!
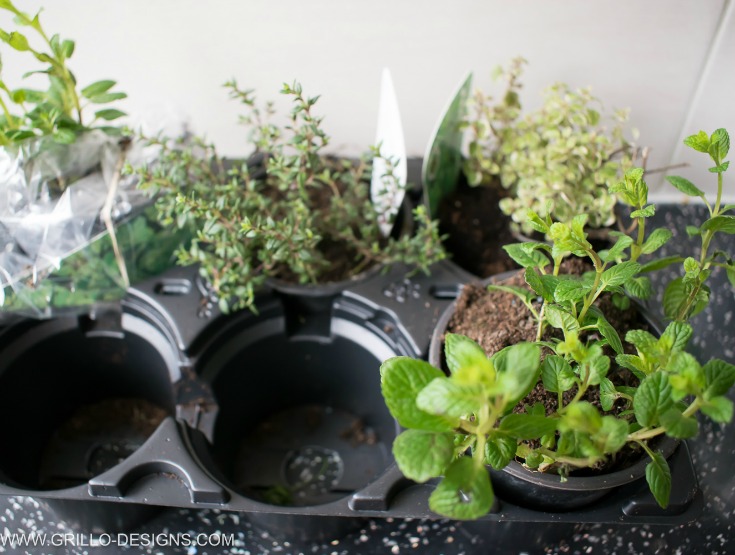
I chose parsley, rosemary and mint. They smell unbelievable in my kitchen!
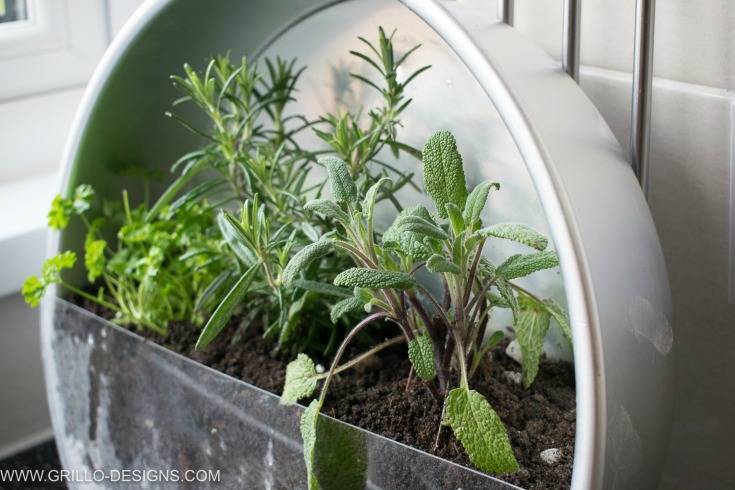
You can either lean your herb planter against the wall on your countertops or hang on the wall. I chose to hang it buy pre-drilling a small hole at the top centre and hammering into the wall with a heavy duty nail!
What’s your verdict? Are you liking this repurposed baking tin idea?
Since I started out with a confession, I feel it only right to end with a promise to repent my sins and change my weird baking tin fetish ways.
In other words, no more late nights phone prowling….. err I mean scrolling eBay for baking pans to buy. When my ‘purchase thumb’ gets that uncontrollable urge to tap ‘BID’; I’ll just stick it in my mouth instead and revert back to my thumb sucking days (oops now that’s two confessions!)
Article source: http://grillo-designs.com/indoor-herb-planter-repurposed-baking-tins/
SHARE IT SO OTHERS CAN FIND THE BEST GARDENING INFO
