Take your next outdoor camping or treking journey to a brand-new level by growing microgreens while you are taking pleasure in the great outdoors. Microgreens offer a method to the fantastic satisfaction of growing and eating your own food.
No requirement to interrupt growing your microgreens simply due to the fact that you are leaving for a prolonged walking or camping journey. Growing microgreens is really simple.
When the very first leaves have completely developed however before whats called the true leaves have actually emerged, microgreens are harvested. It’s a natural way to increase a menu’s nutritional worth while including culinary bling at the same time. A few of the most common microgreens are grown right in the cafe or dining establishment’s kitchen area.
Microgreens are an exceptional addition to camping food as well. You might pick to grow mustard, cabbage, radish, or spinach microgreens. They have the advantage over mature greens because of their higher concentrations of bioactive components like antioxidants and vitamins.
Microgreens are more healthy than full-grown greens, however, they are normally consumed in smaller sized amounts which is an advantage considering the cost. Some shops are known to price their microgreens at more than $25 a pound! We discovered it unnecessary to pay these rates once we learned how to grow our own microgreens. Our microgreens are all set to eat in simply a week or more and can be snipped for garnish or collected for the primary green in a salad.

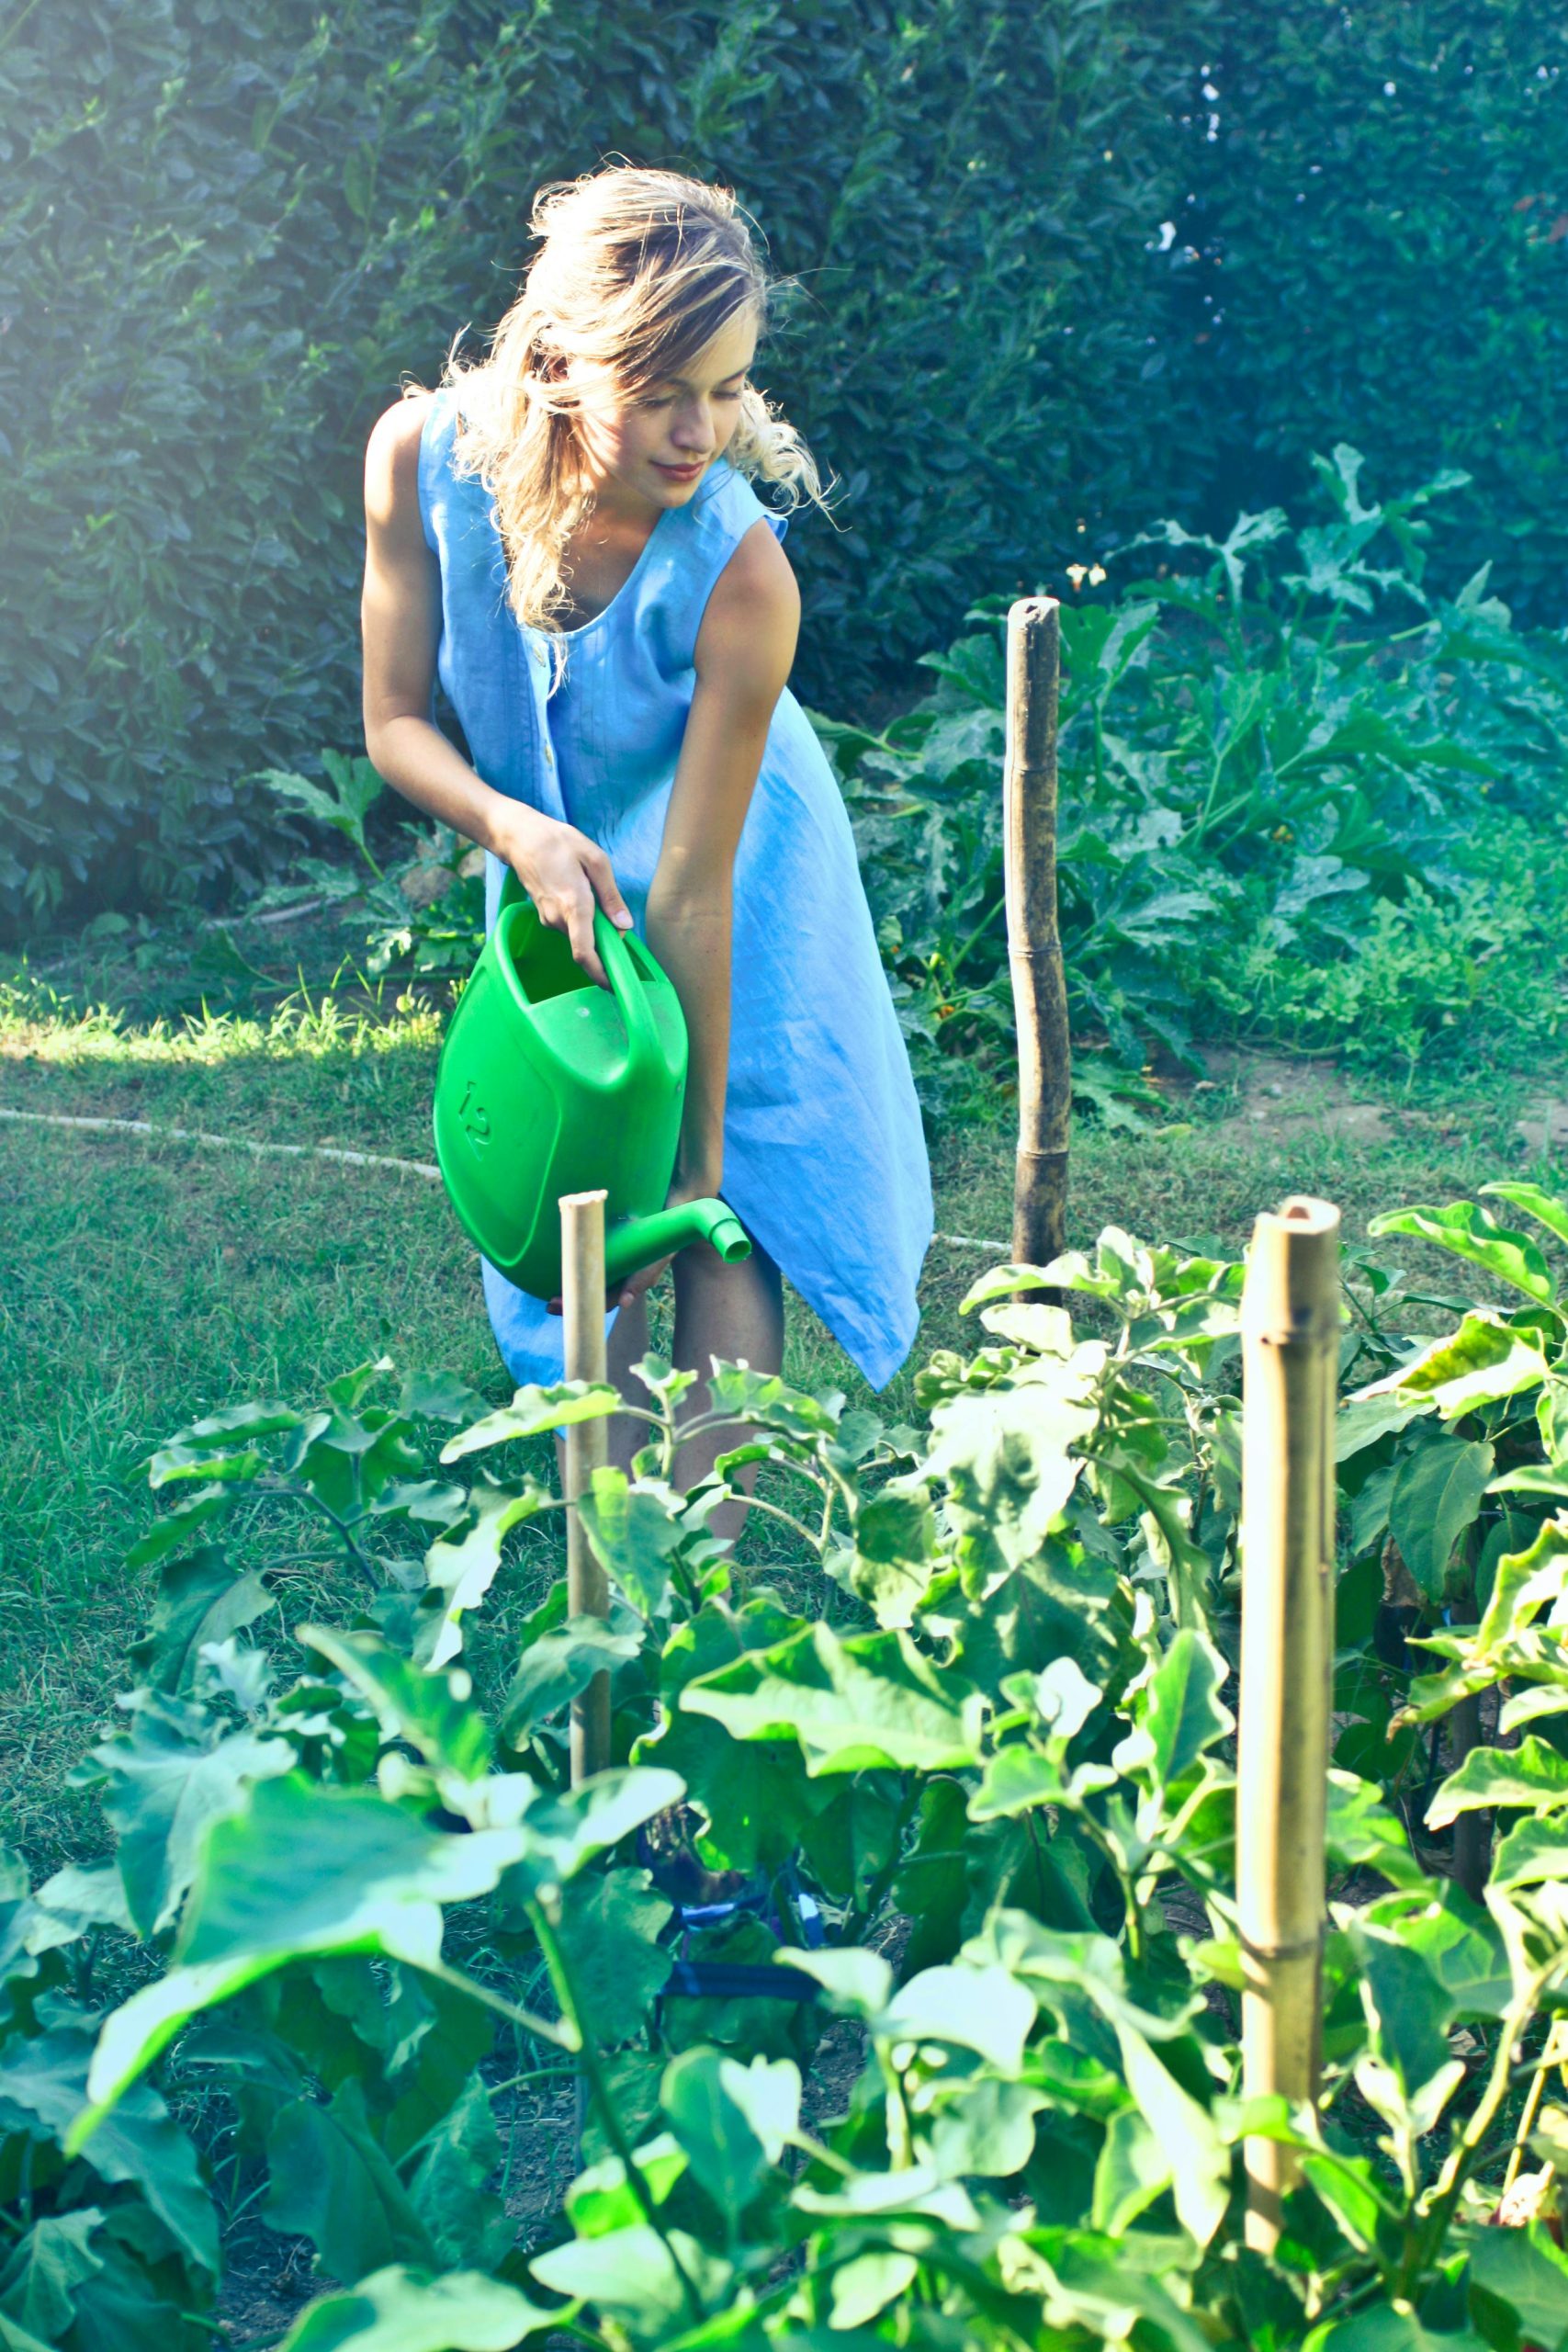
Picture by Pixabay/DeviPuspitaAmarthaYahya
According to the U.S. Department of Agriculture, a survey lead by Agriculture Research study Service verified microgreens include considerably higher levels of carotenoids and vitamins– about 5 times higher– than their mature plant counterparts. You can find out more about this research in the January 2014 concern of Agricultural Research study magazine .
Sprouts vs. Microgreens
Sprouts are collected prior to the 1st leaves have actually developed, whereas, microgreens are cut just after 1st leaves have developed.
Back-bags and backpacks
There are backpacks and back-bags where you can grow and harvest microgreens while you hike. If you have actually ever attempted this effectively or not, please reply to this blog. We ‘d enjoy to become aware of your experience.
Using Microgreens
Microgreens are sprouted seeds of edible herbs and veggies and are rising in appeal as the brand-new cooking trend. They are little in size but strong in taste and nutrition. Their intense flavor and abundant colors, can be stressed in a meal as the centerpiece or merely contribute to a meal for extra crunch and texture.
Microgreens can be used as a garnish by just clipping a percentage with scissors. Some microgreens are really colorful and can truly spruce up a dish or add attract a velvety soup. Some of the choices for more color are beets, red mustard, amaranth, red cabbage, and kohlrabi. They can be utilized in place of lettuce for sandwiches or salads.
As a great option to beansprouts, microgreens include a wonderful texture to pita sandwiches or hamburgers. Add chopped cucumber, avocado and tomato to a bowl of microgreens and you have a tasty salad. Micro greens are great without dressing but a light dressing of oil and balsamic vinegar is excellent.

A Note on Allergic reactions
I grow our microgreens in our greenhouse that we made from an unused canine kennel. (To learn more about making a greenhouse from an unused pet dog kennel, click. here .) I dislike the entire brassica family, which is the family where broccoli, cauliflower, and cabbages belong.
Because starches and oils are not yet established in microgreens, I have the ability to eat cauliflower, cabbage, and broccoli microgreens without any problem.
Please check with your physician before experimenting with consuming microgreens of your allergy plants if you have any food allergy.
Hydroponically Grown Microgreens
I’ve only grown our microgreens hydroponically. Due to the fact that it is cleaner so no rinsing off of soil is essential before consuming, I like the no-soil process. Some folks enjoy the soil-based microgreens and even claim the schedule of more seed choices such as sunflower and buckwheat being simpler to grow in soil versus hydroponically.
I extremely suggest acquiring a microgreen package from. Growing Microgreens . They have a wide range of seeds and their packages are complete with everything you will need as a novice or knowledgeable microgreen grower.
Growing microgreens is a fun hobby or you can turn it into a cottage industry as they are always in high need, specifically at more refined restaurants and nation cafes.
Microgreens are germinated in the dark, needing them to become strong right from the start and to strive for the light, making them active growers. Warmth is absolutely a requirement for micro greens.
We utilize a heat mat produced plants. It’s advised not to utilize a house heating pad as they are not developed to be subjected to damp or wet conditions. Since we grow our micro greens in our greenhouse that we made from our unused canine kennel, we use the plant heat mats to keep an even temperature level of about 70 to 80 degrees. In the heat of the summer, we do not need the heat mat on, so we’ll simply unplug it and leave it in place for unexpected cooler days or nights.
Outdoor camping and Treking with Microgreens
When you are camping opportunities are you will have warmer days and maybe cool nights. Taking microgreens camping with you to be able to enjoy the freshness of these greens with their high nutrition works well even with cooler nights.
Merely start the seeds a week to a week and a half prior to you prepare to leave for your camping journey. By the time you leave for outdoor camping or hiking, your microgreens must be near ready to eat and clip.
At your campground, find a sunny spot to position your microgreens tray. You can move it around as the sun transfers to take benefit of the hottest areas for your trays.
Growing microgreens is a terrific method to get kids involved in finding out the planting, germination, and collecting process. Understanding where food originates from focuses their attention on farming and permaculture. Growing microgreens gives kids a chance to get their hands dirty and really comprehend how food is grown and how they can assist care for the earth.
Temperature level for Microgreens
If your weather condition will be around 60 degrees Fahrenheit instead of 70-80, stick with the seeds that flourish in the cooler weather condition, such as lettuce, dill, onion, peas, and most brassicas. Try out growing multiple seed ranges in the same tray. You can mature to four or 5 ranges in one tray giving you an excellent salad range to take camping with you.
With hydroponics, there is no soil to spill in your car on the method to your campsite. The bit of water, in the kind of moisture, will keep the greens fresh until you come to your campground when you can revitalize the greens with a great watering.
As soon as the germination period is complete and the dark cover is gotten rid of, the greens will need as much light as possible and heat will be crucial.
Leave No Trace – Keep in mind, when you are camping or treking, leave no trace. Strategy ahead and be prepared. Dispose of waste effectively. You understand what they state, load it in, pack it out.
Buying Microgreen seeds
Amaranth microgreens have a slightly earthy taste. It is great to experiment with a variety of seeds prior to your outdoor camping journey in order to choose one or 2 seeds for the journey that you know work for you in taste, growth, and ease rate.
When you acquire your microgreen seeds, they must be without treatment seeds, organic or not. The neglected seeds permit appropriate germination and much safer ingestion of tidy greens .
.
How to Grow Microgreens
Step 1: Prepare your tray or container
Choose whether you wish to utilize the soil approach or the hydroponic approach. For the function of this blog site, we will be using the soil-free hydroponic technique. Location a hydroponic felt or mat in the tray.

Putting about two cups of water evenly over the surface area tipping the tray to distribute the water getting it to reach all 4 corners. Make certain the mat is saturated but just utilize up to 2 cups of water as anymore will trigger the seeds to stand in water promoting mold.
The beginners kit I bought contained everything I needed to start growing my own microgreens. From there, I have since acquired bulk seeds and more supplies, along with microgreen books to additional my overall knowledge.
For a fast tray to take camping try to find Mustard seeds as this is a simple and quick grower.
- Red mustard will include color to your salad and a little kick of spice to your palate.
- Cress is a fast growing seed with a little spice. The majority of ranges of lettuce are extremely yummy along with attractive for a garnish on soup or alone as a salad.
- Sesame sprouts quickly so might be an excellent one to pursue camping.
- Turnip seeds sprout and grow fast microgreens. They taste just like a turnip itself.
Radish and cabbages, my perpetuity favorites, are quick and tasty
Step 2: Sow your seeds.
I usually utilize 2 trays, one tray of radish for example and one of cabbage seeds. Broadcast the seeds uniformly and very sparingly on the damp hydroponic felt. Take care not to spread out the seeds too largely, as this will increase the possibility for mold ruining your entire crop.
Give each seed its own area barrier for breathing space. As a rule of thumb, if using bigger seeds such as radish, you might require approximately a quarter cup of seeds in a common 10-inch-by-20-inch tray and maybe 3 tablespoons if the seeds are smaller sized such as lettuce.
Typically a hydroponic felt or mat is of a light product so any seed is simple to see which helps you in precisely broadcasting the seeds. This is one factor to grow hydroponically since with a soil-based system, seeds are difficult to see on the dark soil and you may not have adequate water at your camping site to completely rinse any soil off of soil-based grown microgreens prior to eating them.
Action 3: Spray and cover container.

Spray plain water on the seeds gently, for circumstances only a dozen sprays for the whole tray simply to moisten the seeds. I utilize another dark tray inverted as the top. Spray a few sprays of water inside the inverted tray to create humidity for your seeds.
You will need to spray the seeds like this everyday for 4 or 5 days until you see the very first sets of leaves emerge. Get rid of the dark cover from the tray and from then on, only water by lifting up a corner of the mat and putting in a small quantity of water, enough to keep the mat damp. The seeds should never be permitted to sit in water as this will rot the seeds
Step 4: Uncover the container.
Your seeds should be germinated and all set to grow without the dark cover after 4 or 5 days. When you see the child leaves, the cotyledon leaves, first appear you are one day far from being able to uncover your tray. Keep in mind to examine and water your seeds daily by bring up a corner of the growing mat.

The tray needs to be really wet but not over half method up the channels that run the length of the tray if you are using your own containers this is no more than an eighth of an inch deep..
Never water your microgreens from the top, always from under the mat and never spray your microgreen leaves from the time you remove the dark cover.
Step 5: Time to Harvest.
Your microgreens should be all set to cut or collect in less than two weeks unless they went through cooler conditions then they might take a little bit longer (see lead photo). I have actually seen if I’m growing microgreens in cooler temperature levels and they take longer than two weeks, my crops are never the plush healthy greens they are when grown in comfortable warmth. Keep in mind there are always exceptions to any of these growing and harvest. Check the Internet for particular times and conditions required for various seeds. Before you gather your microgreens, move the tray or container to a cool, shady place to prevent triggering the tender leaves to wilt if gathered in the cool of the early morning or later evening your microgreens will remain crisp and fresh longer .Use scissors to cut microgreen tops for your meal or root out the whole plant to enjoy more taste variation and texture. It’s always an excellent idea to rinse and dry your microgreens before consuming them. Your microgreens can be stored in the refrigerator for a number of days if they are dried after washing. When the entire tray has actually been harvested, compost the mat and start another tray.
📅 Last updated:
SHARE IT SO OTHERS CAN FIND THE BEST GARDENING INFO


