Frightened by the idea of beginning your first vegetable garden? Going back to square one can be a complicated job for any garden enthusiast. Where should I put the garden? Do I have to clear a space in my lawn? These are all concerns I asked myself prior to making my first endeavor into veggie gardening. The one thing I understood was that I didn’t want to have to do a great deal of digging. It’s effort, and the idea of doing that made me not want to garden at all
The great new is that a lot of digging is not essential. There is this wonderful idea called a no dig garden. Rather of digging into the ground, you develop up layers beginning with the ground up into a raised bed, leading to deep, rich, fertile soil.
Here is a 6 step guide to planting a no-dig garden for beginners.

If you are beginner, stick with plants that are things you like to consume. I decided to narrow my first garden down to these 3 veggies. Root vegetables might be more challenging the very first year in a no-dig garden, so narrow your options to veggies that grow above ground.
Next is evaluating the quantity of sun required for the things you want to grow. Many vegetables require a fair amount of direct sun, although there are some that will grow in the shade. .
You will need to ensure the plants you choose need a comparable amount of sunlight.
3. Step three is finding the spot in your yard that fulfills the requirements. This is easy to do on a day off, simply pop outdoors and see if the area you want is in direct sunshine, many of the day. You will need to examine every hour. It can be anyplace. I chose an area up against a fence in my yard where I knew my children wouldn’t be going. You might choose a spot in the middle of your lawn or a covert patch off the alley. It truly does not matter as long as the sunshine requirements are.
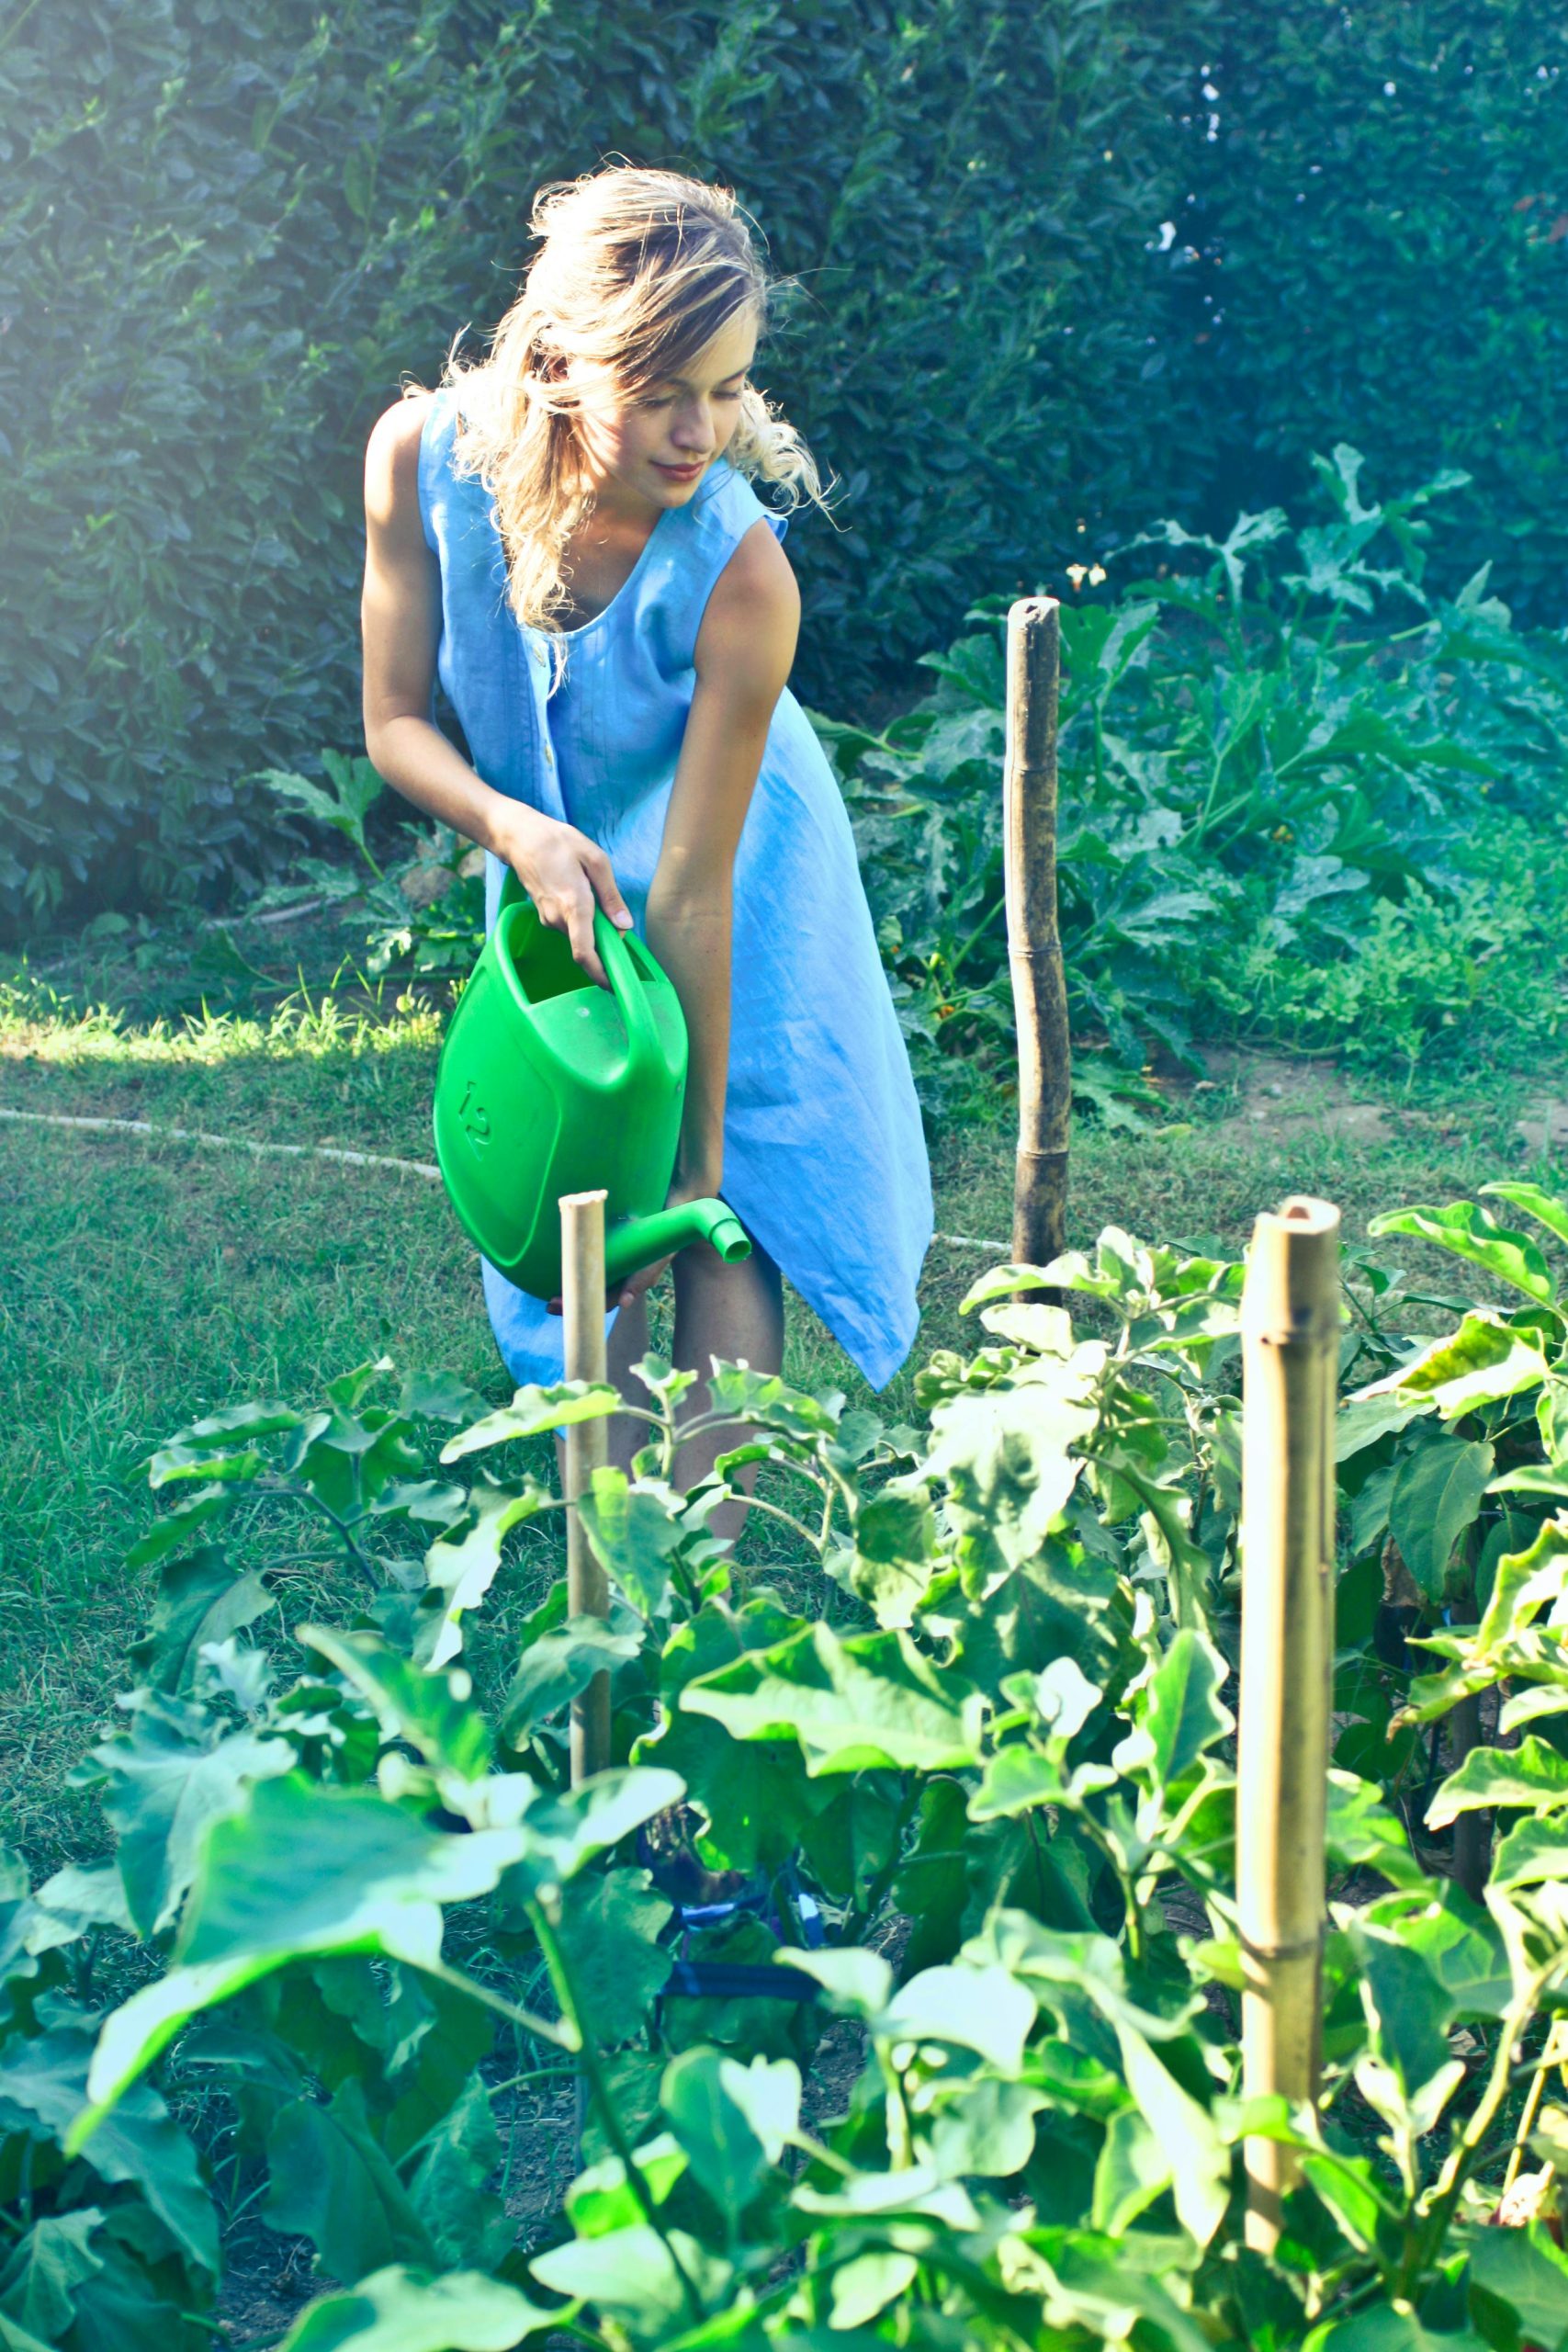
4. Put down your three part base. The very first layer is paper or remaining cardboard. You will require to lay down a complete section of newspaper, not simply one sheet if you go that path. Because they act as weed blockers and both break down relatively easily, cardboard or paper work well. You will need to wet down the base once you have it in location. You can do this with a watering can.
The 2nd layer is hay. You need to break the hay up and put down about a 4-inch thick layer. Try not to select a windy day.
The final layer is compost. There are great deals of types of garden compost you can buy if you don’t make your own. Any garden center will have a selection.
Once you get all 3 layers down follow up with water to help it set in location. You can include a border of wood, rocks or brick to make it look more finished. When you have your layers in place let them sit for a couple of weeks prior to you take the next action.
The most fun step is to plant your seedlings. After a couple of weeks of setting, the hay will break down enough where you can scoop out a spot to put your brand-new plant. At this point it’s time to water your brand-new plants and it’s an excellent idea to add something with some nutrients to the water like compost tea.
6. The final action is to enjoy and mind the garden. Check it daily to expect insects if you identify problems early they are much easier to treat.. Analyze the leaves for pests. There are lots of natural ways to eliminate insects. This. article has a couple of ideas. .
Some plants, like tomatoes, may require vertical support like stakes or a cage.
Article source: http://www.gardeningchannel.com/no-dig-vegetable-gardening-for-beginners/
📅 Last updated:


