These are just some of the questions that I get so I decided to write this post to help keep your plants thrivin’ an’ survivin’.
Please note: The information provided in this post is what works best for me here in North Carolina to grow succulents. Your area may require different methods and techniques. This is a sponsored post on behalf of Leaf & Clay. As always, all thoughts my own. This post also contains affiliate links.
Warning – this post is LONG so feel free to use the links below to jump to a specific category.
Tip 1: Select the Perfect Plant
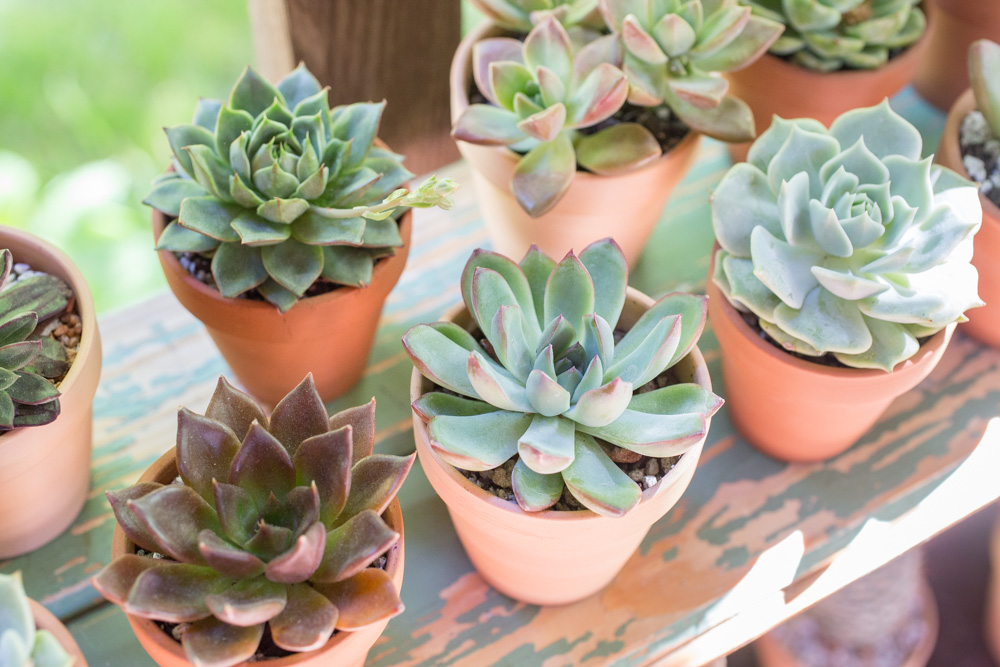
When it comes to buying succulents, there are numerous places to look. My favorite is Leaf & Clay , but I have also heard great things about Mountain Crest Gardens as well (I haven’t ordered from them yet) . I was actually surprised at how amazing the plants looked when I ordered from Leaf & Clay. I was so afraid that they would just throw any old thing into the box but they selected the plants better than I could have! Other places to check are local nurseries – they are such a great way to give back to the community!
Generally speaking, I avoid big box stores. I understand they are convenient, but the employees at places like Home Depot could care less that they soak the succulents daily or never. The plants may look okay sitting on the shelf, but closer inspection may reveal weeks of abuse like rot in the stem (which is hard to see on plants with tight rosettes, for example) or rot in the roots.
Succulents tend to rot from the bottom up so you may not know that they have one foot in the grave until you bring them home and are dead a week later. I guess my point is to go somewhere that specializes in succulents for the best plants.
Tip 2: Choosing the Right Container
Look for a pot with a drainage hole that is about the same size as the plant. Succulents don’t do well in a container that’s 10 times larger than the plant.Please don’t think that by adding pebbles to the bottom of the planter will help if there is no drainage hole. This is an old wives tale and does absolutely nothing except make the pot smaller (since you will be adding less soil) plus it promotes rot since the water has no where to go. You want your plants to thrive, not barely survive. If your pot doesn’t have a drainage hole, you can easily make one using a special drill bit like I did HERE . My favorite planter material is terra cotta (pretty much all my pots are in these!) followed by ceramics since they are breathable and is what I have found the best to grow succulents in.
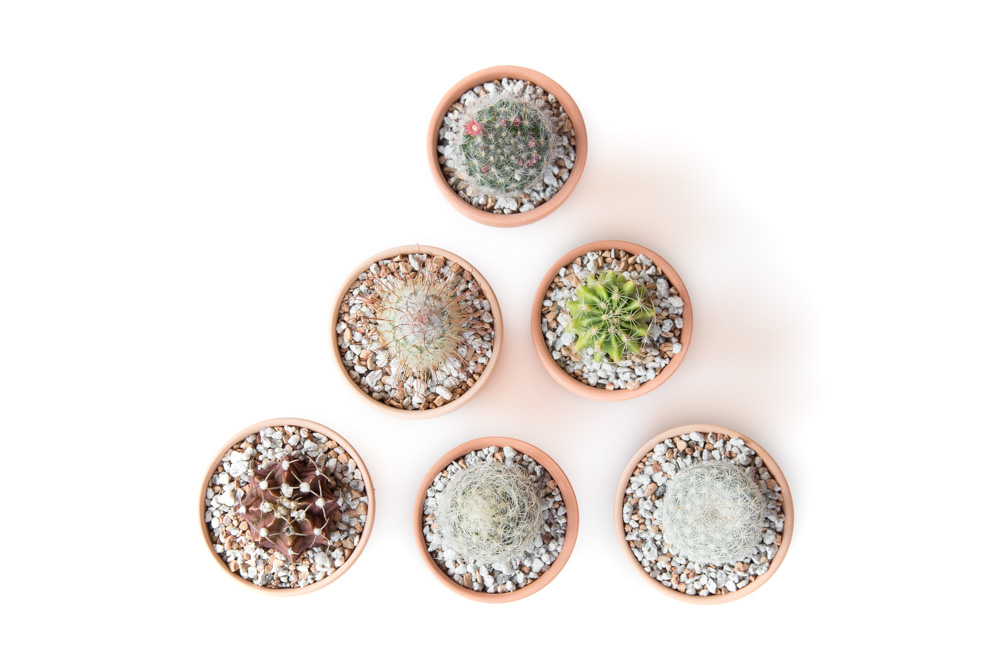
You also may be tempted to place 4 or 5 succulents and cacti down into a glass bowl but this is, in my opinion, the worst thing you can do to them long-term. Doing this will create an atmosphere that is far too humid for them (plus it won’t have any drainage). One helpful tip, avoid planting cacti and succulents in the same arrangement since they have very different watering needs. IF you want to plant them together, I do actually have a tip for that but it will be in a future post. *sorry!*
Tip 3: Preparing the Succulent for the Pot
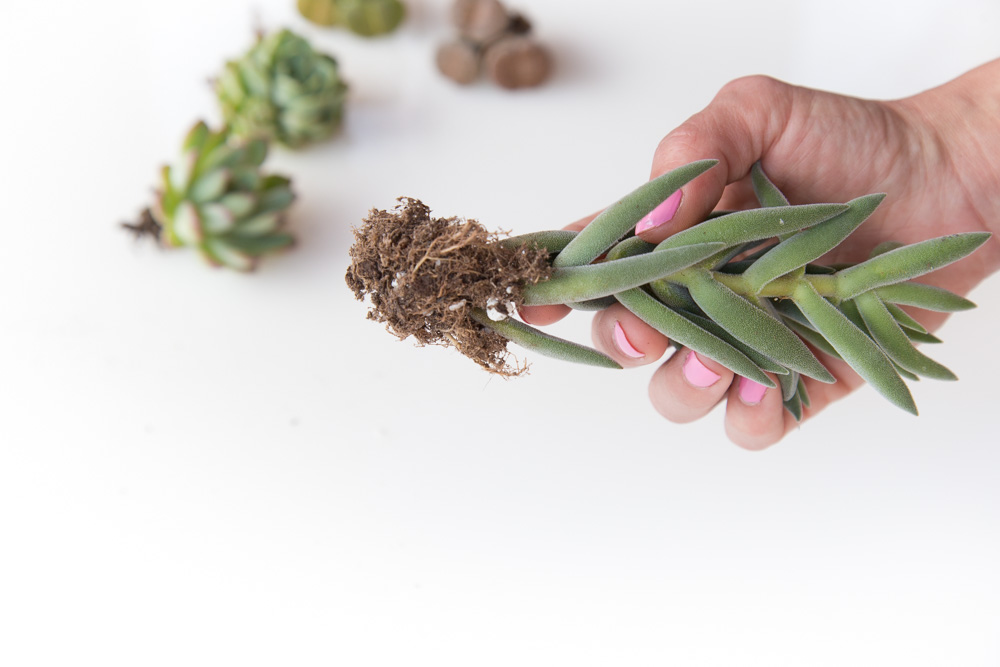
When I first get any new succulent, I always remove the peat that’s seemingly strangling the roots. If you were to take the plant from the nursery container and put it straight into your new pot, the water would simply flow around the peat-bound root ball and out the bottom each time you gave it a drink (leaving the roots bone dry). This is partially because peat becomes hydrophobic when dry meaning it REPELS water.
One of the advantages of ordering your plants bare root from Leaf & Clay is that most of the peat has already been removed. This makes replanting sooo much easier. If you don’t feel comfortable doing this, by all means, feel free to skip it. I’ve personally noticed a huge difference by taking the time to do this step.
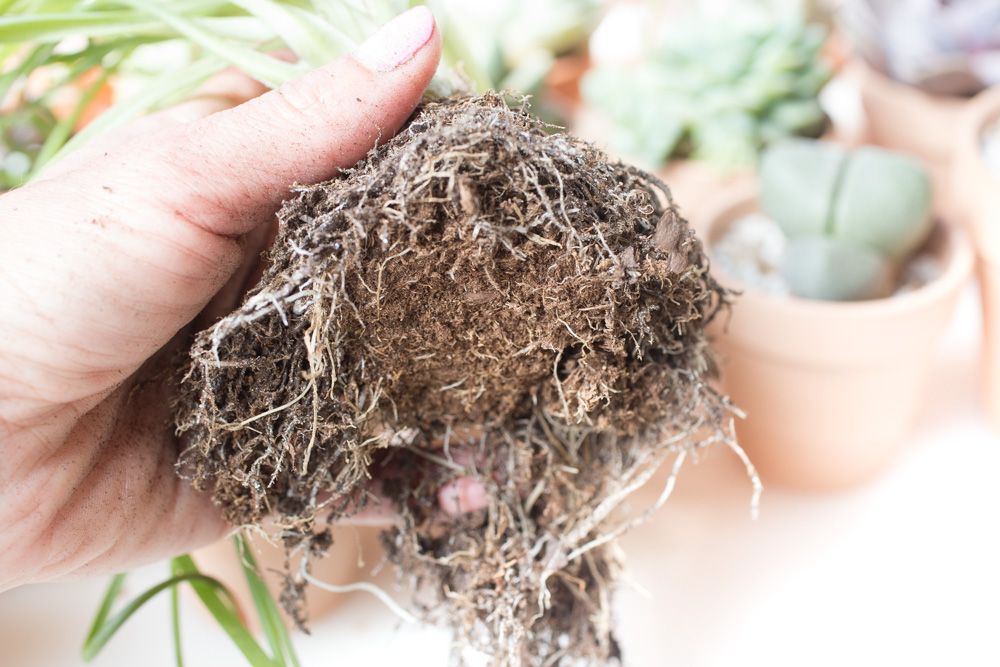
Here is an example of the importance of removing the peat off of the roots and is actually one of my very first succulents. I didn’t know back then to remove the peat and you can see how it has formed a solid mass under the plant. The roots were forced to grow around it since they were unable to grow through it. Every time I gave it a drink, the water would just flow around this clump and straight out the bottom of the pot. This plant didn’t do well until I removed the peat. It’s now thriving and looking great!
How to Remove the Peat to Grow Succulents
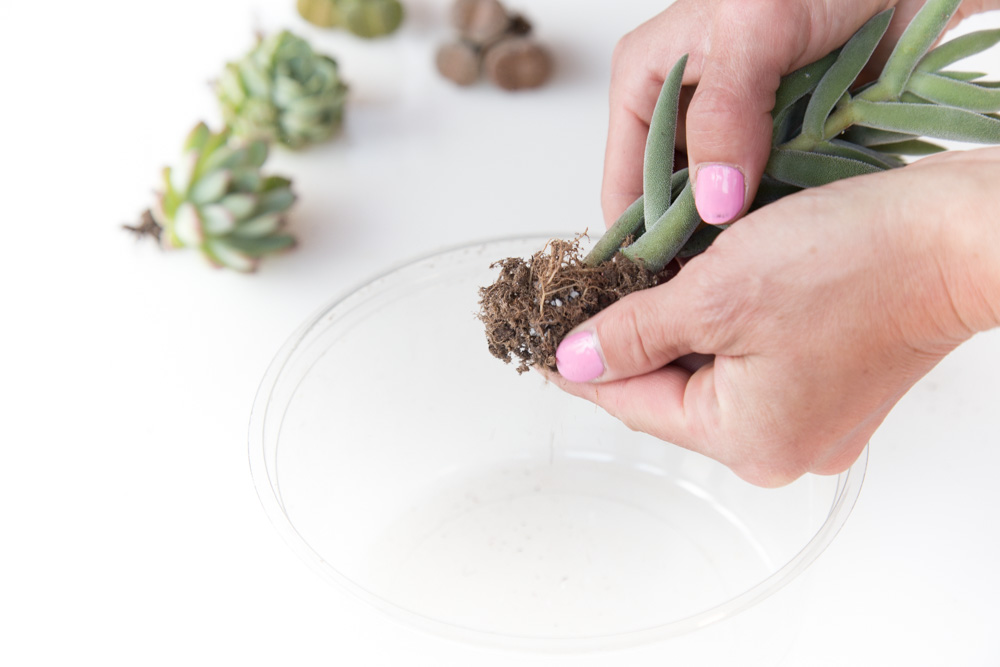
To start, gently break apart the soil on the roots with your fingers.
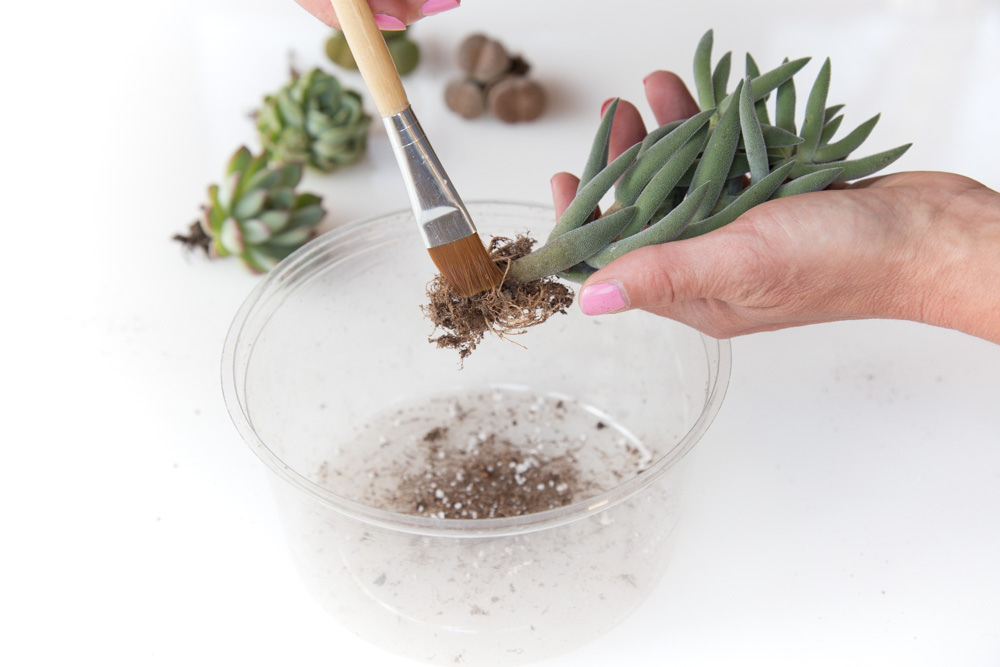
Once you get the big chunks off, you can switch over to a soft brush to get the rest. These soft brushes also work really well at getting soil off of the leaves from being shipped!
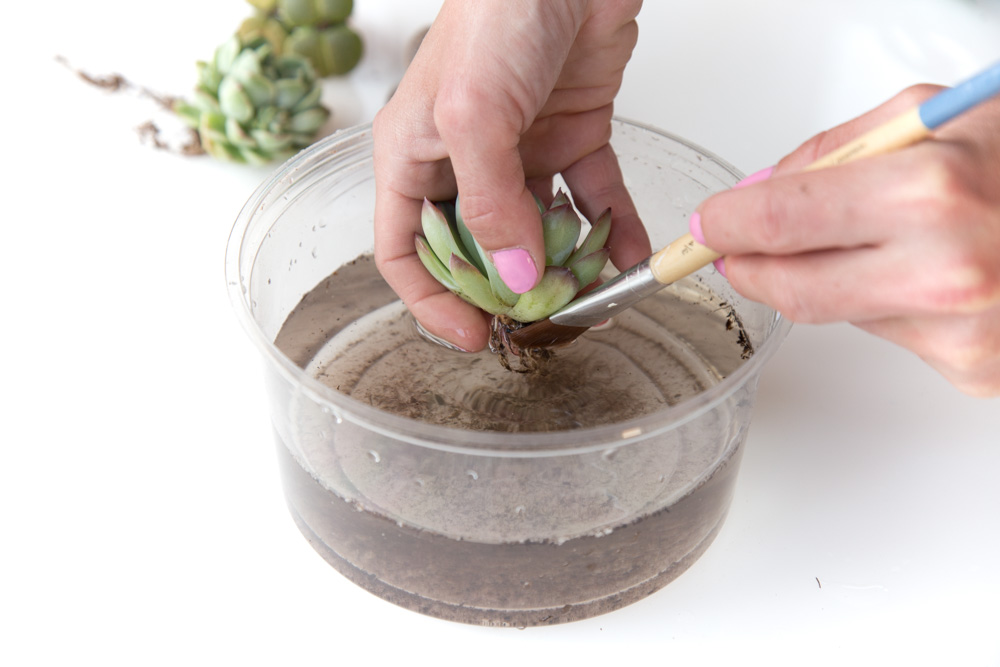
If you find that this isn’t getting you anywhere (i.e. the peat has literally cemented itself to the roots) you can dip it in lukewarm water and brush it this way. Hold both the roots and the brush under the water to prevent excessive damage.
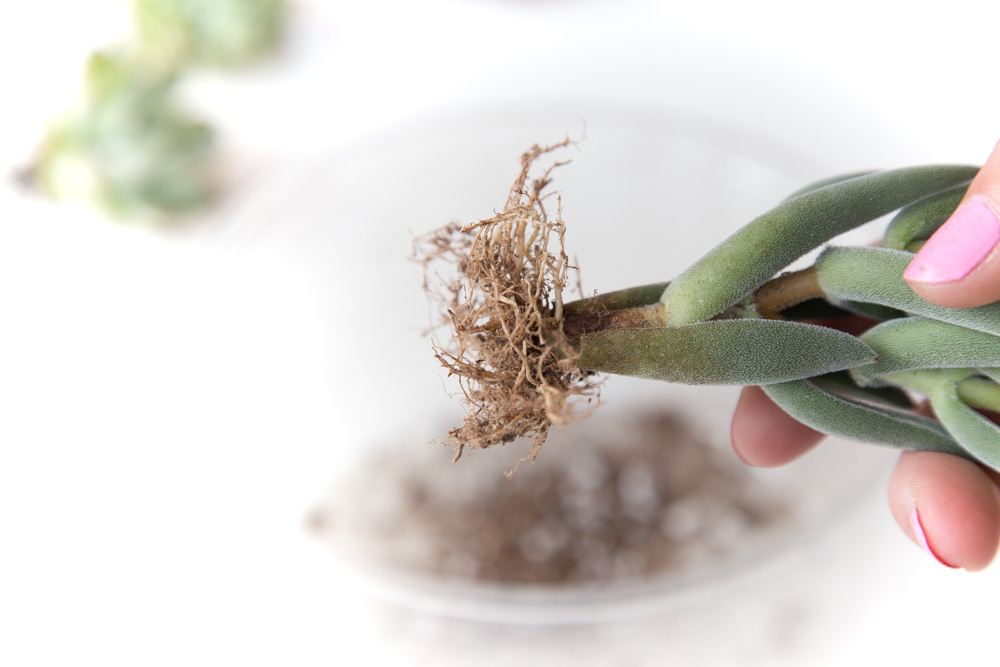
If you rinsed the peat off, let the roots dry just a bit before planting in soil. You will also want to wait a few days before giving it any water because there may be some broken roots. If the inside of the roots are exposed – and you water it – the plant may rot, so it’s best to hold off on watering it for a few days. This is also a good time to remove any dead lower leaves and also to closely inspect the plant for bugs.I have a post planned on insects and how to get rid of them which should be up soon!
Tip 4: The Best Soil for Succulents
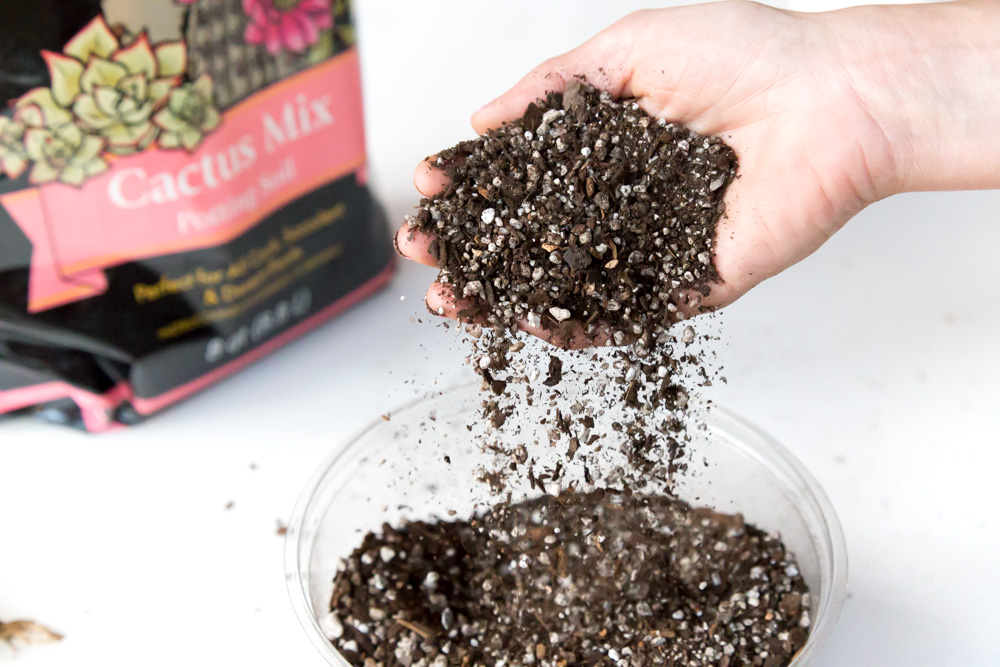
They don’t like to keep their feet wet so it’s important to grow succulents in a gritty, well draining soil. (It’s soil, not dirt – you sweep dirt under a rug <— my pet peeve.) I prefer to use Black Gold Cactus Mix to grow succulents since it doesn’t have peat and is actually one of the few brands that has pumice ! Peat moss is just way too water retentive for the humid south eastern US and takes forever for it to dry here (your area may be different). With Black Gold, sometimes I’ll add 50% extra pumice but it just depends on the batch and what I’m planting.
If you use something like Miracle Grow to grow succulents (which I don’t recommend, but I understand that’s all some can get) be sure to add at least 50% pumice and combine these two in a bucket before adding to your pot. There are lots of brands out there, these just seem to be the most common around here.
Alternatively you can use 50% perlite in place of pumice – just whatever you do, avoid Miracle Grow brand perlite at all costs. The last time I got a bag of Miracle Grow perlite, half of the bag was powder so I took it right back and looked for another brand. The powder will clog your roots – as will super-fine sand – so you want to avoid this as well. I generally don’t use perlite because it floats to the top of my pots and blows away in the wind!
Where to Get Pumice for Succulents
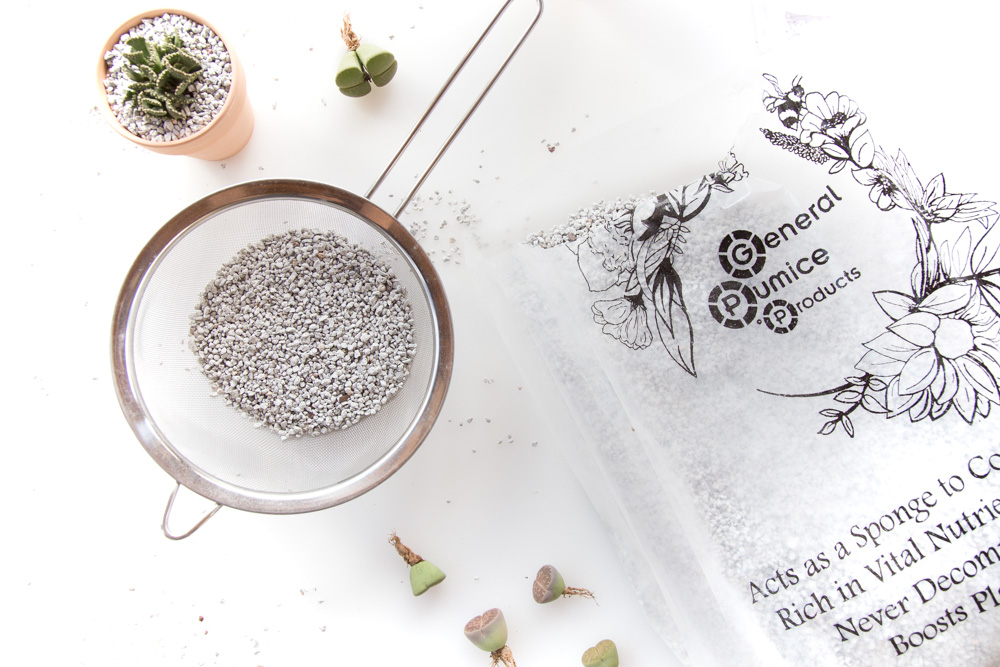
I get ALL of my pumice from Lexi at General Pumice Products. There are so many sizes to choose from (I get the 1/8″ size) and there’s even free shipping with every order.
To use pumice , simply add a scoop of soil and a scoop of pumice into a bucket and mix! What you’re left with is the perfect 50-50 blend. (Keep in mind, the amount of pumice varies depending on the soil you’re using, but 50-50 is a good starting point.) Pumice is unique in the fact that it’s an 100% NATURAL growing media that provides excellent moisture retention and gives vital aeration that brings more oxygen to the soil. Besides its amazing draining capabilities, it is also rich in vital horticulture vitamins and minerals. Oh, and pumice doesn’t float to the top of your pot like perlite!
Tip 5: How to Plant Succulents
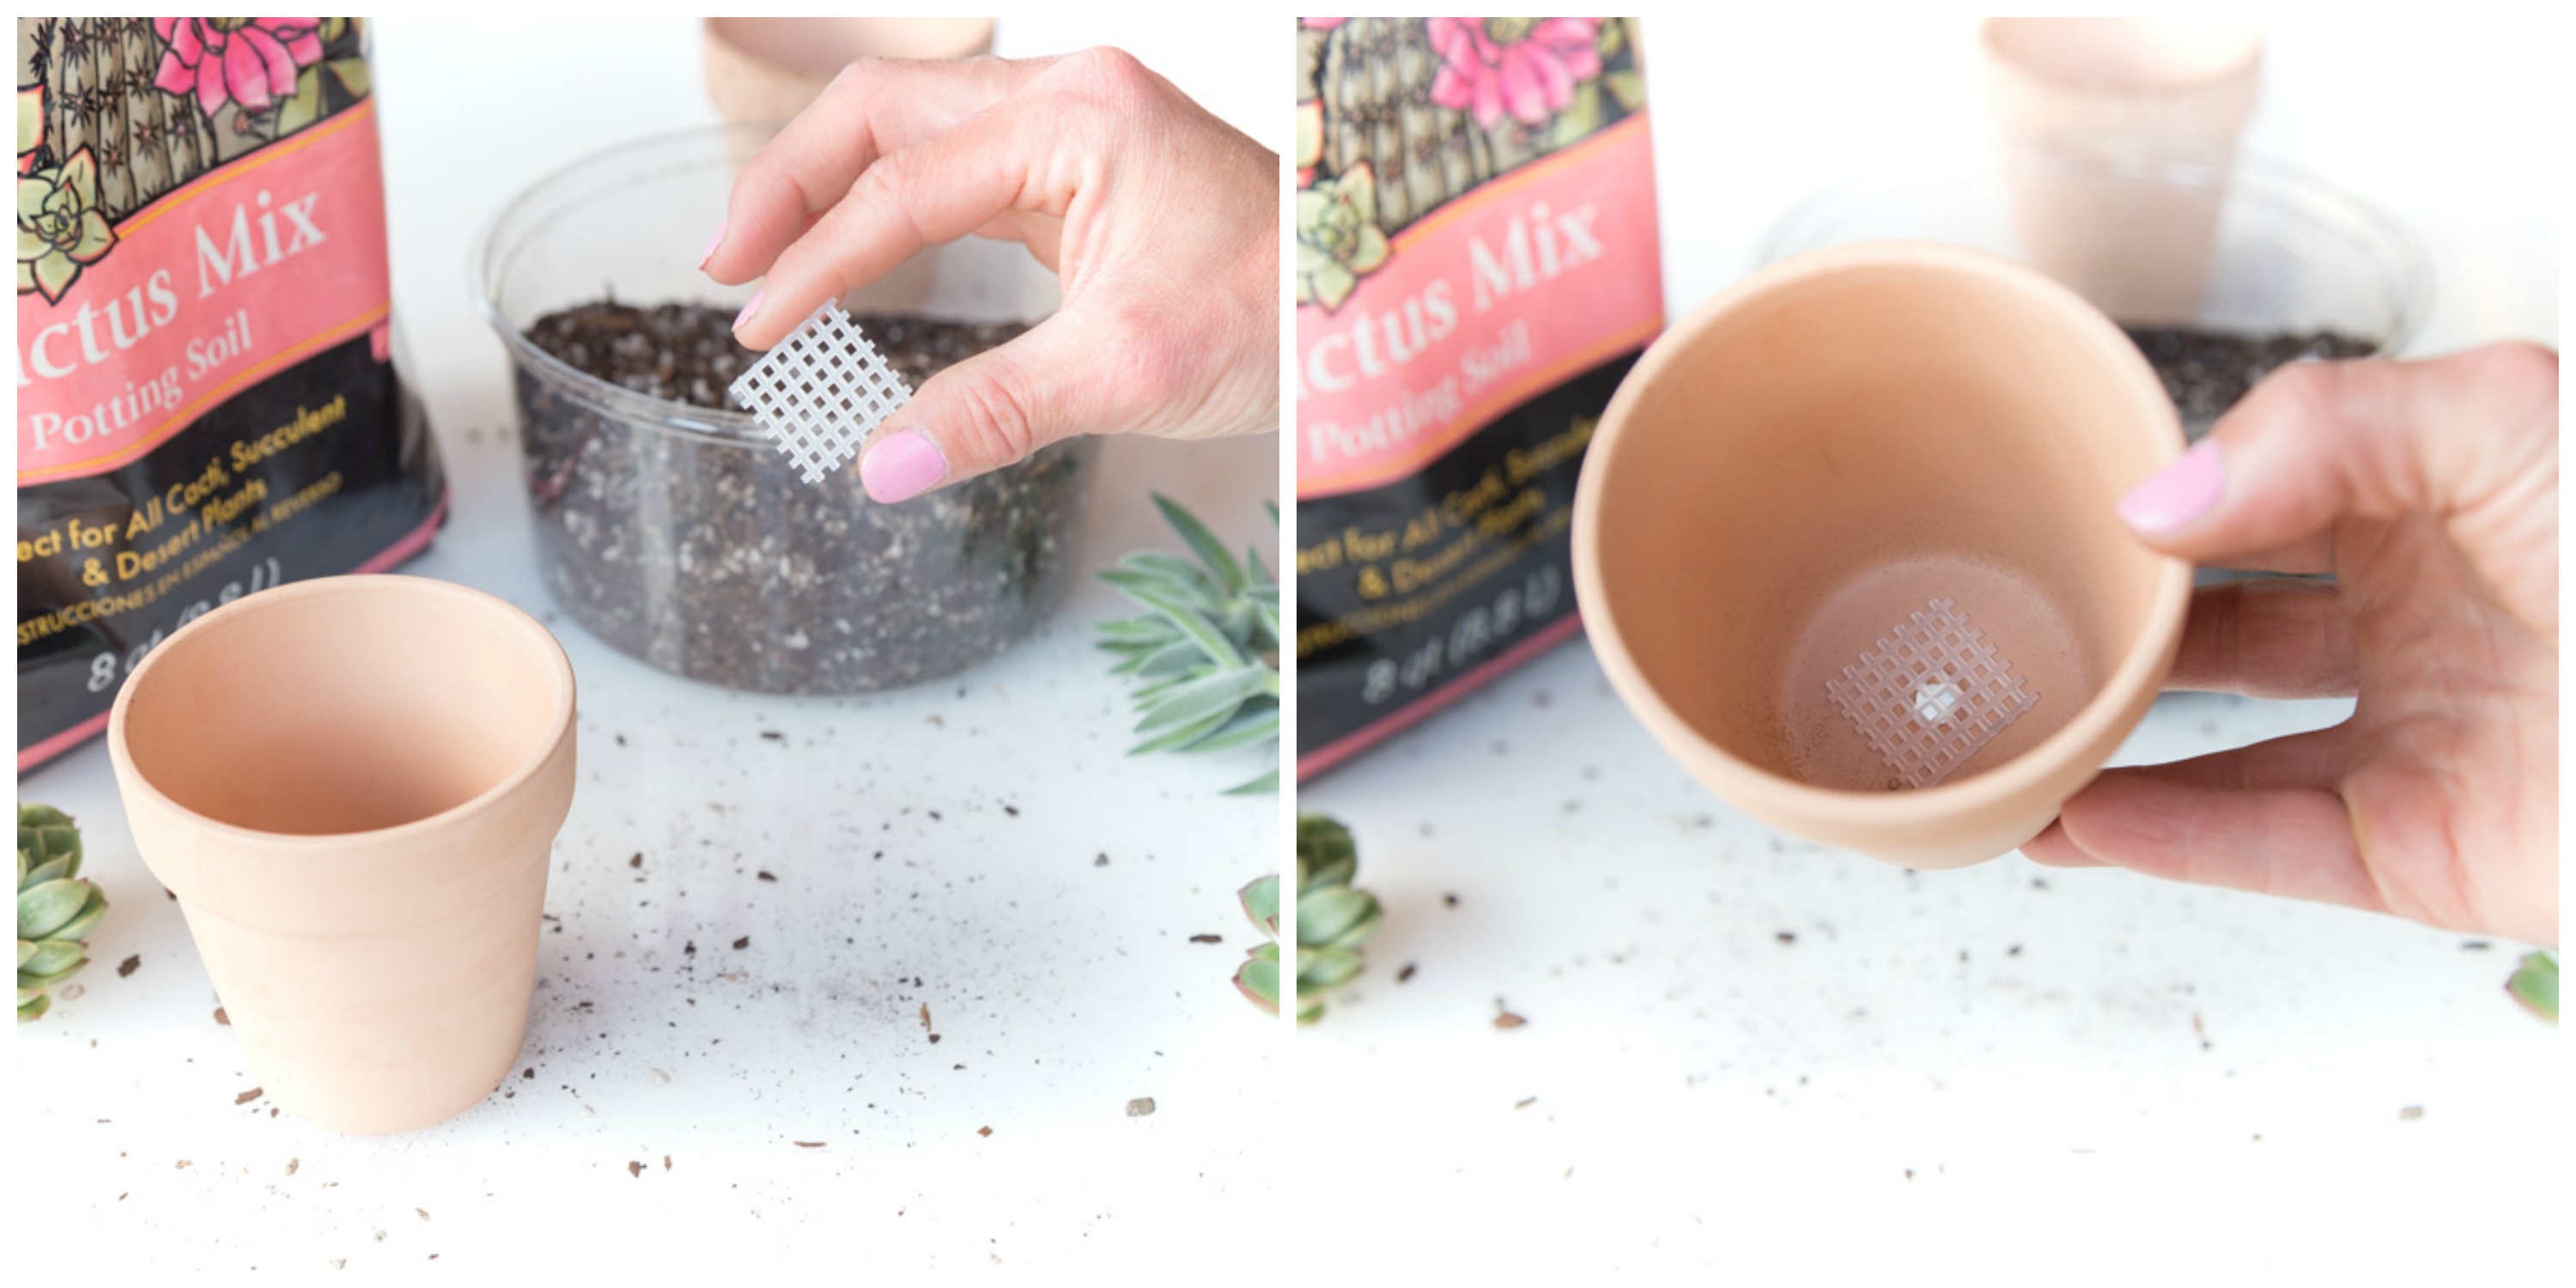
I picked up this plastic yarn canvas at the craft store and cut it into little squares to cover the drain hole. Another option is to use drywall fabric . It works great because it’s slightly tacky and won’t move around. Whatever you do, DO NOT ADD ROCKS TO THE BOTTOM OF YOUR POT to keep the soil from falling out.
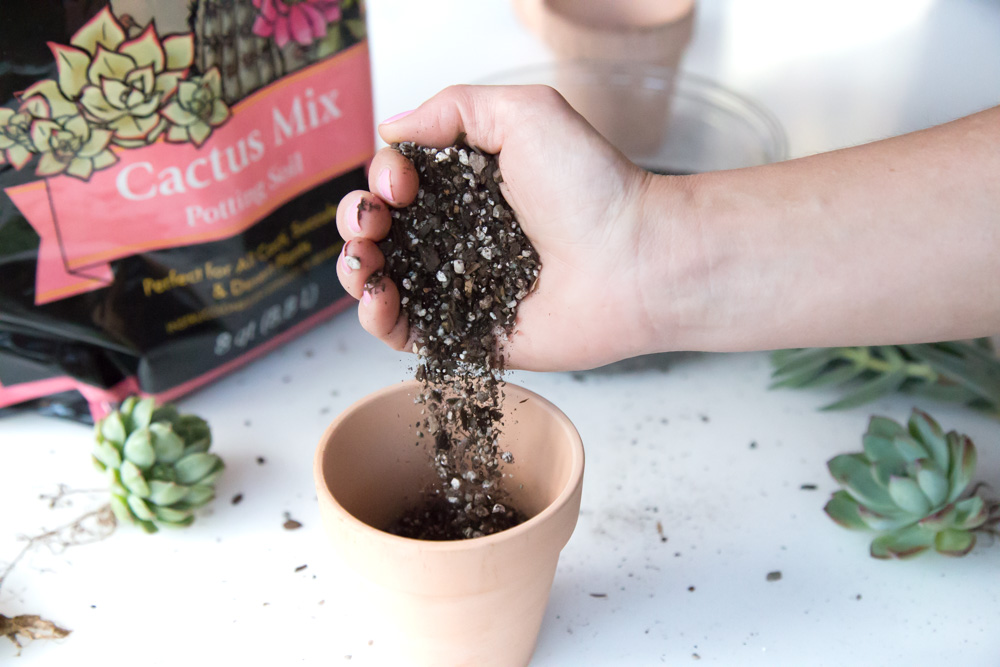
Fill up your pot to where the bottom of the roots would be if you sat the plant inside.
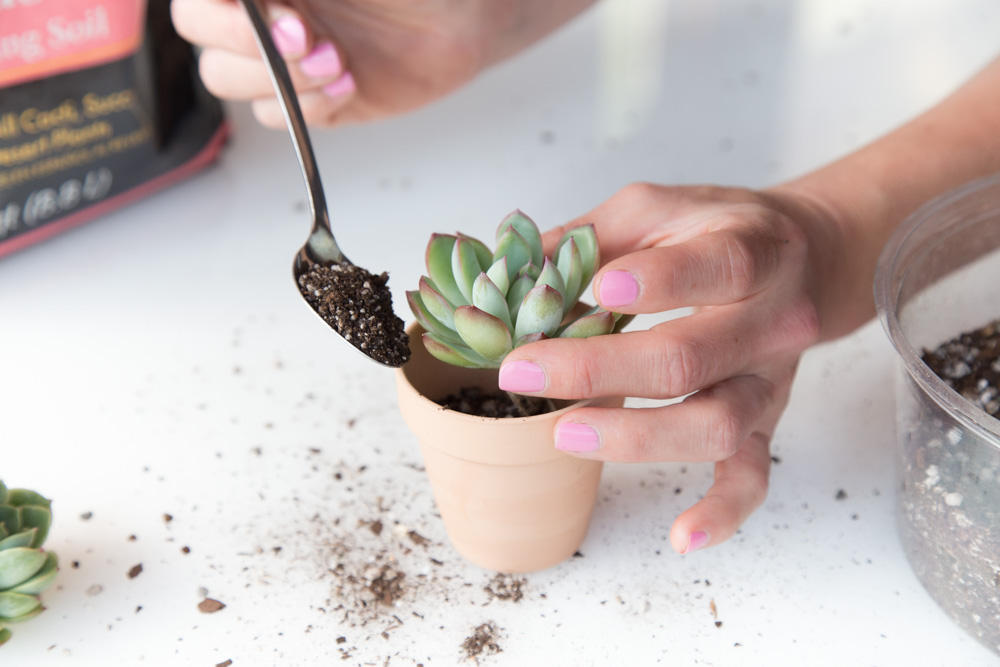
Place your little plant over the pot and fill in with soil (I love using a tea spoon for this!). Be sure to work your way around equally so the roots don’t get pushed to one side.
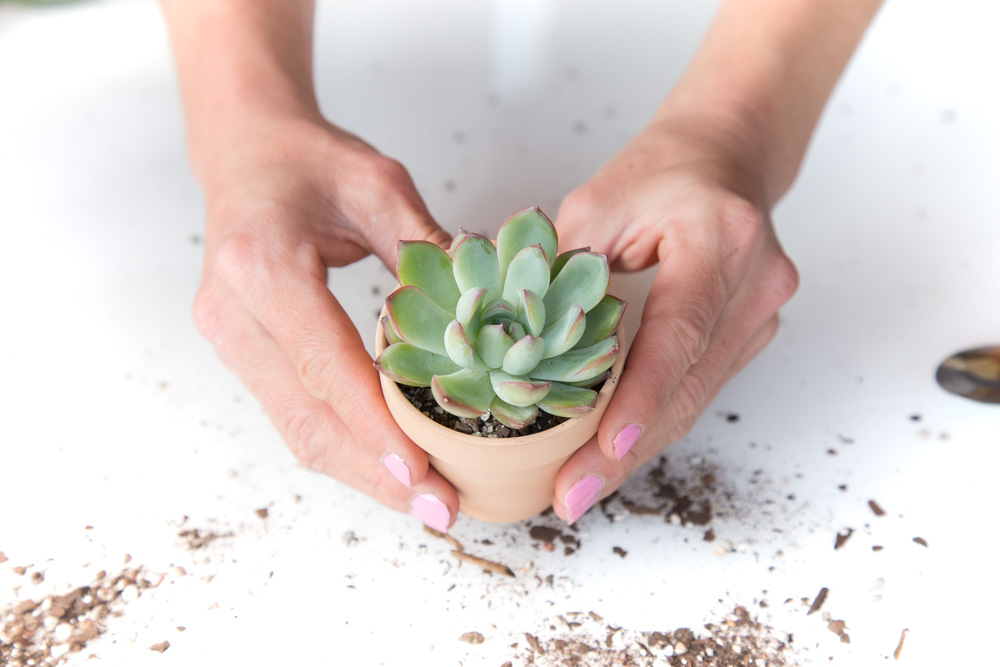
You’ll notice my plant isn’t deep down in the pot. This is so that it can get plenty of light without the sides casting a shadow onto the plant. If the plant doesn’t get enough light, it will begin to stretch. This is known as etiolation.
Tip 6: Watering
I have found that people either water waaaay too much or not near enough. It’s best to water your plants when the soil is completely dry. If you can, use rainwater and give it a good drink until it flows out the bottom. If you have proper soil, the water will flow through perfectly. Avoid spritzing the plant or getting water on the leaves which may lead to rot. You also want to avoid giving the plant just a sip every now and again. The roots may dry up and die the same as if you were to give it too much, they may rot. Give your plant a good drink and don’t water again until the soil is thoroughly dry!
Did you notice the keywords here? To prevent ROT let the plant completely DRY between watering!
How I Water Succulents:
When to water is a tough subject to cover. What may work here in humid North Carolina won’t necessarily work in arid California and vice versa (succulents do really well in arid regions!). There are so many factors that come into play like soil, humidity, time of the year, plant type, plant size, pot size, pot material, etc. that it’s difficult to give a specific guideline of when to water. One tip that does work for everyone is to simply, water thoroughly when completely dry. This means to water your plant until the water flows out of the drainage hole and don’t give it anymore until the soil is completely dry. Succulents thrive with a good, deep watering then they want to dry out quickly.
Many varieties of succulents are summer growers (dormant in the winter) so they will need more frequent water during this time. Plants with fatter leaves will require less frequent watering whereas plants with thin leaves will need it more often. It’s best to get to know your plants and your region to learn what they like best.
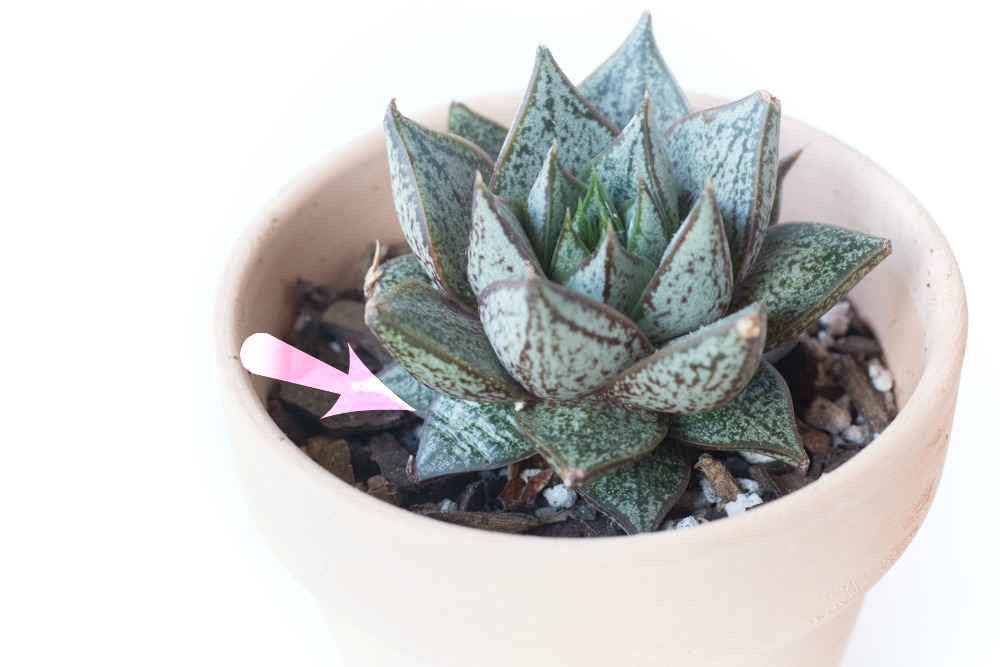
Your succulent will usually tell you when it’s thirsty. Look for visual cues such as this shriveled leaf on my echeveria purpusorum or soft leaves that are midway up the plant. You can also test the soil using a wooden skewer. Stick it down into the soil and wait a few minutes then pull it out and press it to your cheek. If it’s cool, it probably doesn’t need any water.
One of my favorite methods is to pick up the pot to see how heavy it is. If it’s unusually light then it probably could use a drink.
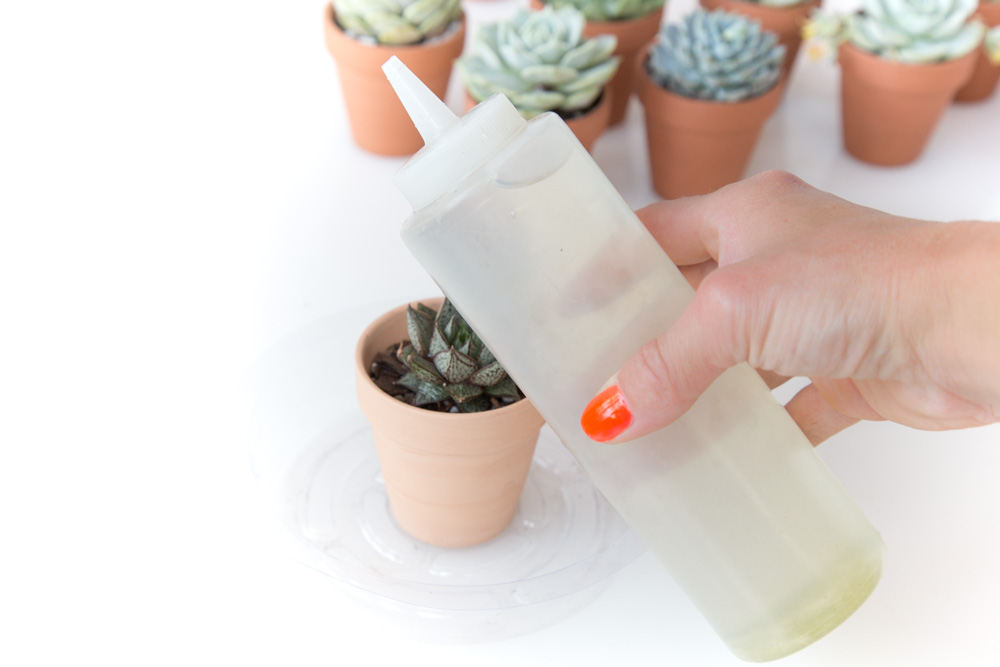
I snagged this squeeze bottle off of Amazon and it really helps me to direct the water right where I want it. It’s also super easy to fill with rain water from our collection barrels. I have also seen others have great success with a long-neck plastic bottle or even a garden syringe . Just whatever you do, please avoid misting them with a spray bottle.
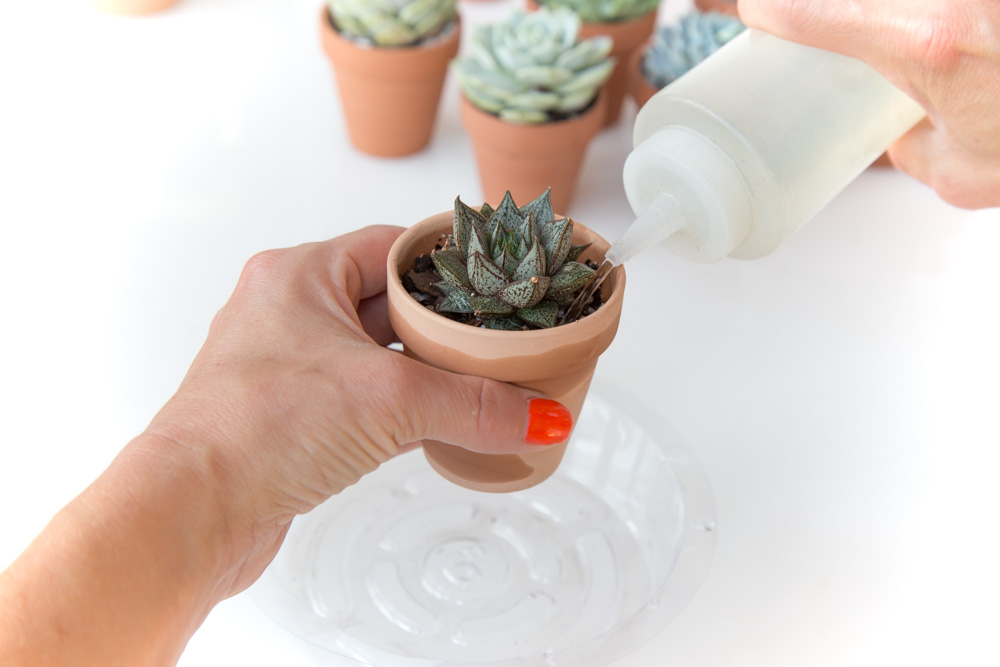
If you don’t have rainwater, you can also use distilled, spring, or even tap water (just be sure to let it sit at least 24 hours before using it). Tap water is full of chemicals that are less than ideal for your plants (and your family!).
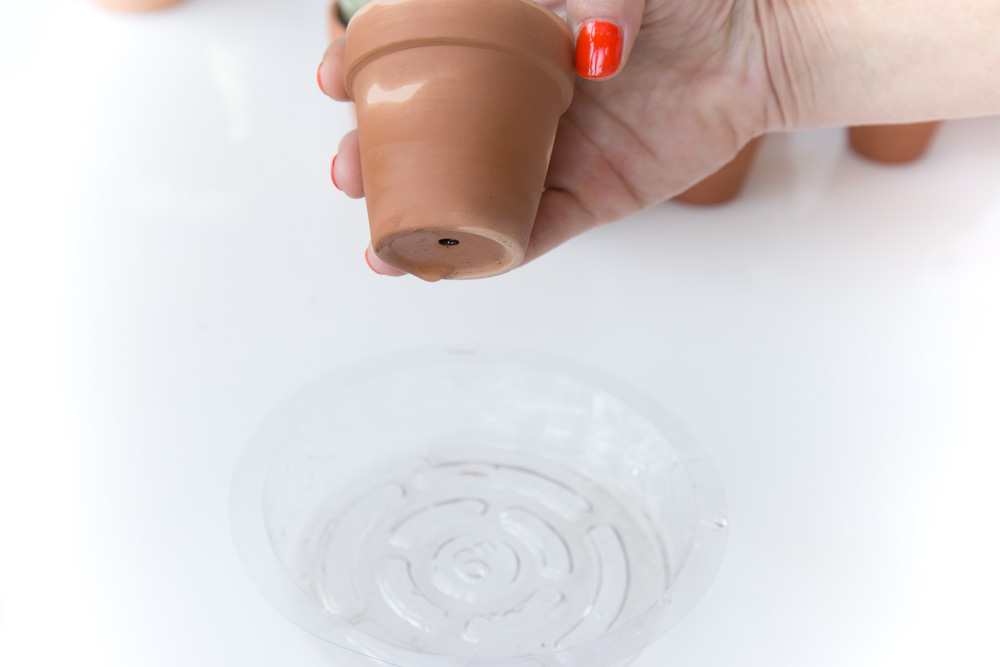
Give your succulent a GOOD drink of water until it flows out of the drainage hole. Don’t water again until the soil is completely dry (I don’t think I have mentioned this yet? Or have I?) Remember, the soil on top of the surface may appear to be dry, but it could still be wet down around the roots. (If you were to water at this point, it could lead to rot.) This is why it’s important to learn your plant, look for visual cues, and test the soil at least 2″ down for moisture.
Tip 7: Give Your Plants Plenty of Light
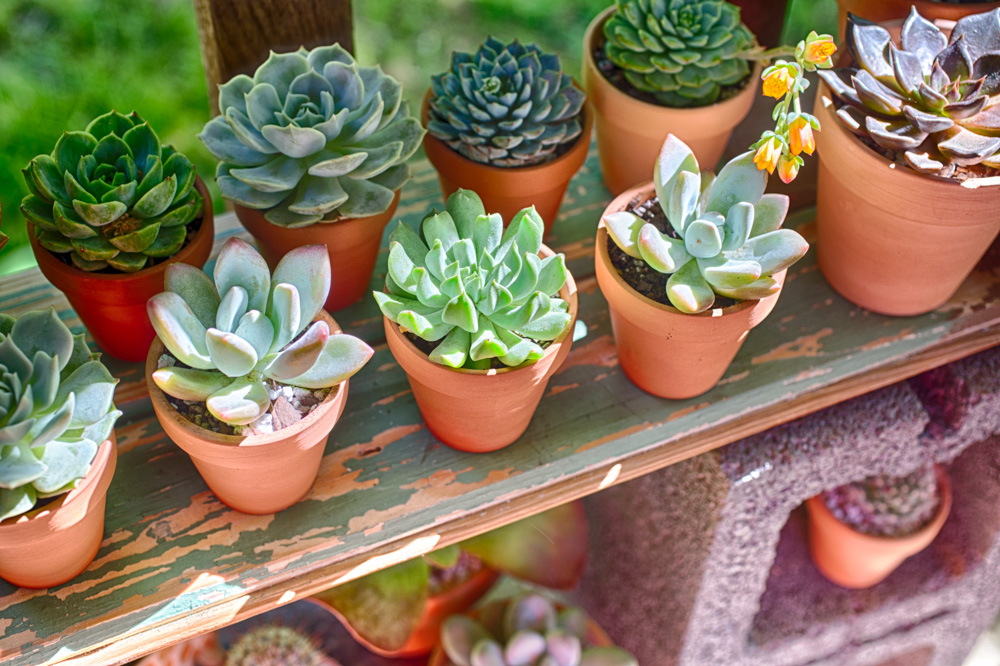
Not all succulents can handle full sun so it’s important to protect them somewhat. As a matter of fact, most of mine prefer bright morning sun with afternoon filtered light. There are some that do enjoy full sun all day long, but you must be careful because there are others that this would burn. If you grow succulents indoors, they do best in a south or east facing window. Also, if you notice them stretching or turning towards the light, then that means you have them in an area that isn’t bright enough. I grow succulents in our greenhouse or outside on the porch because my house isn’t bright enough!
One last thing, if you are bringing your plants outside for the first time, it’s best to gradually introduce them to light. Also, protect them from excess heat just as you would protect them from too much cold!
The number one tip I have is to have FUN. Let your mistakes be a learning experience and move on. There are plenty of plants in the desert and in no time, you will be a succulent expert. Just remember, it’s important to research your particular plant so you will know the best growing/watering/lighting conditions for your new baby!
Article source: http://www.faithfoodfamilyfun.com/how-to-grow-succulents/
SHARE IT SO OTHERS CAN FIND THE BEST GARDENING INFO
